
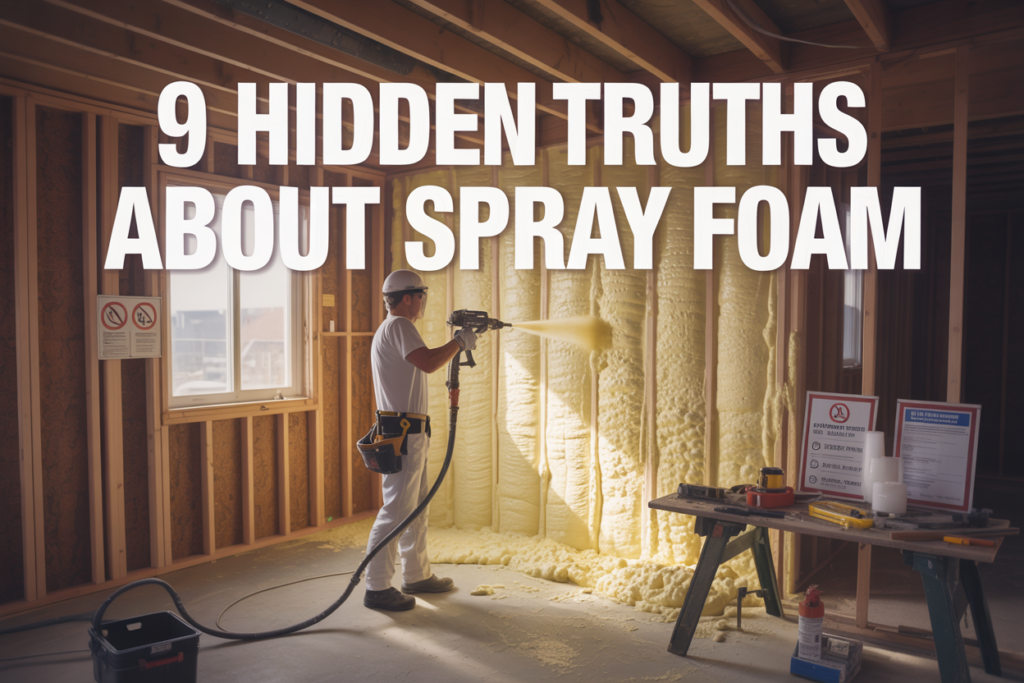
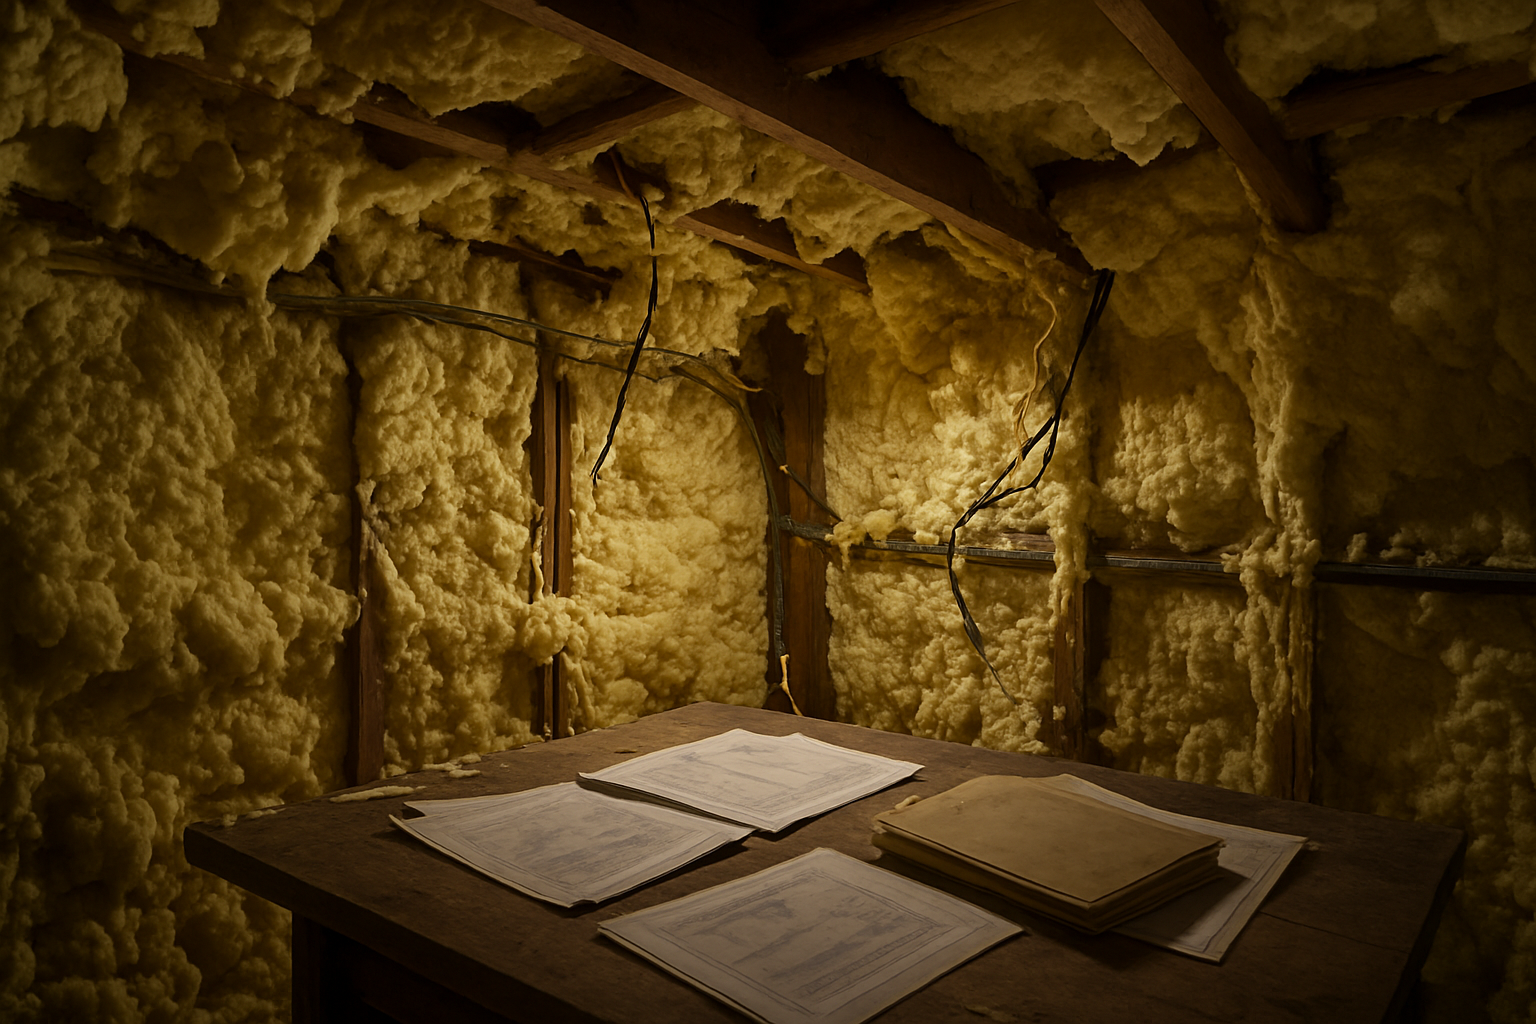
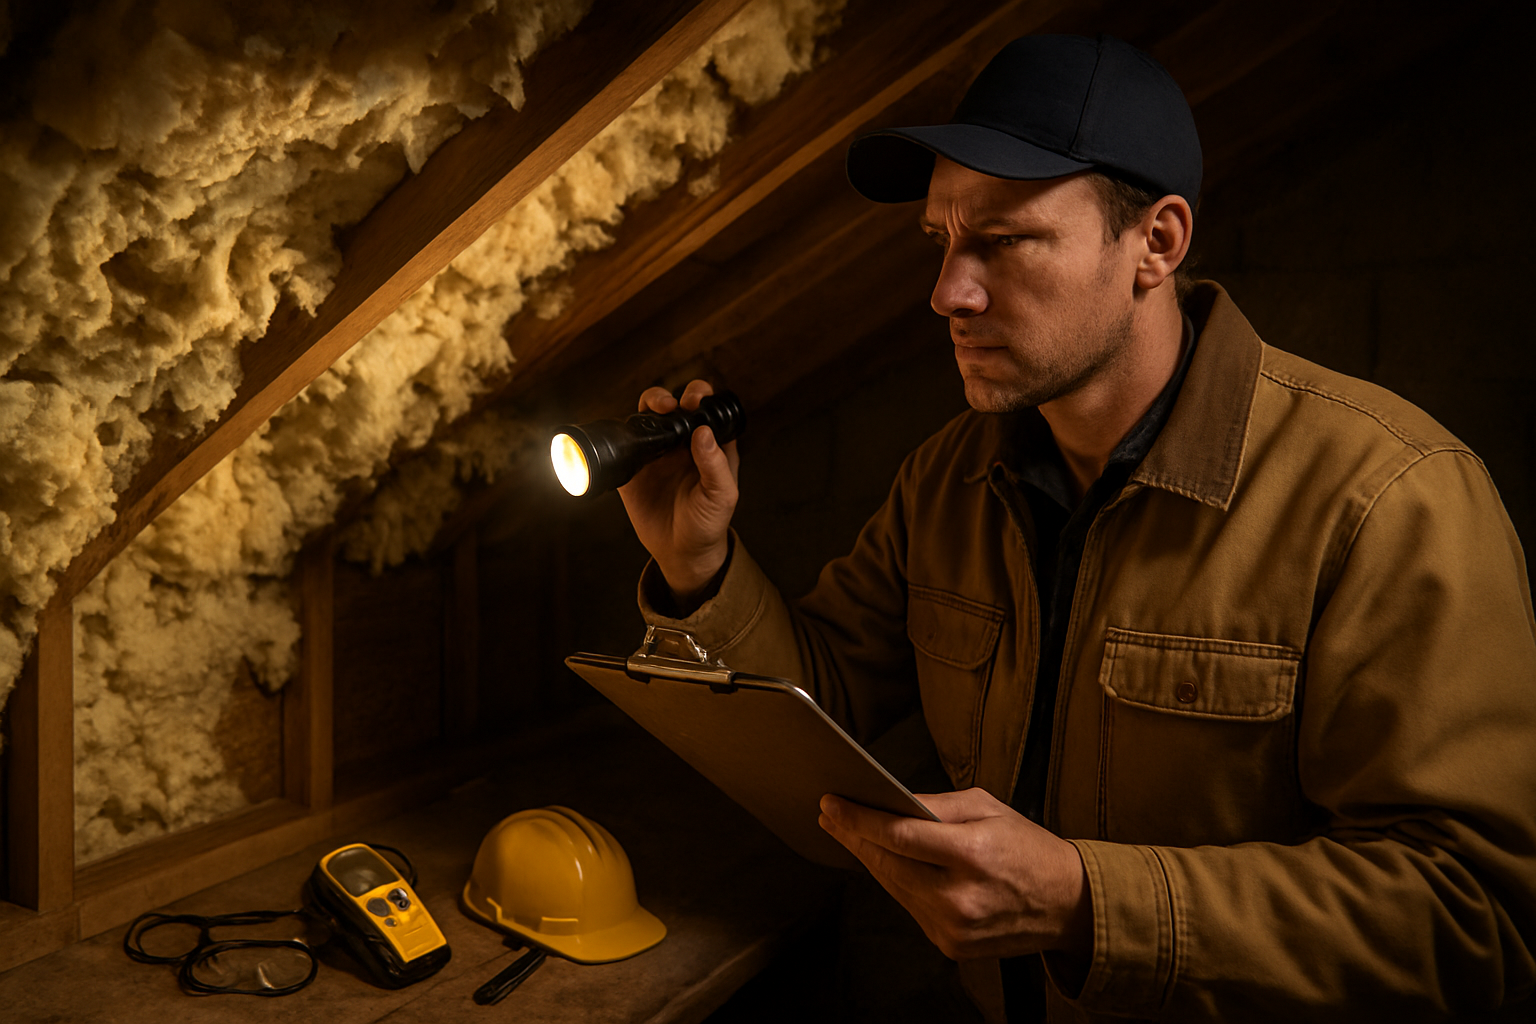
Toronto homeowners planning spray foam insulation projects often receive incomplete information from contractors who prioritize quick sales over your long-term satisfaction. This guide reveals 9 critical facts that Toronto contractors frequently omit when discussing spray foam installation for your home.
You’ll discover hidden costs that extend far beyond initial quotes, including how different spray foam types can dramatically impact your results. We’ll also expose timing issues that can sabotage your project and ventilation changes that catch most homeowners completely off guard.
Whether you’re insulating your basement, attic, or entire home, understanding these contractor blind spots will help you make informed decisions and avoid costly mistakes that could affect your family’s comfort and safety for years to come.
The Real Cost Goes Beyond the Initial Quote

Hidden Material Upgrades That Inflate Your Bill
The spray foam quoted in your initial estimate might not be what actually gets sprayed in your home. Contractors often start with a basic closed-cell or open-cell foam price, then discover your specific situation requires “premium” materials once work begins. These upgrades can include fire-retardant additives, vapor barrier enhancements, or specialized formulations for extreme temperature conditions.
You’ll find yourself paying 20-30% more when contractors claim your basement needs moisture-resistant foam or your attic requires high-temperature formulations. The reality? Standard spray foam handles most residential applications just fine. Many of these “necessary” upgrades are profit boosters disguised as technical requirements.
Labor Charges for Prep Work Not Mentioned Upfront
Your walls aren’t ready for spray foam right out of the gate. Contractors conveniently forget to mention the extensive prep work that dramatically impacts your final bill. Moving electrical boxes, installing protective barriers around fixtures, and sealing gaps all require additional labor hours at premium rates.
Expect charges for:
- Masking and protecting existing surfaces ($200-400)
- Moving or protecting electrical components ($150-300 per outlet)
- Surface cleaning and debris removal ($300-500)
- Installing temporary ventilation systems ($200-600)
The prep work alone can add $1,500-3,000 to projects that seemed straightforward during initial consultations. Smart contractors build these costs into their base quotes, but many prefer the shock-and-awe approach when invoicing.
Equipment Rental Fees Contractors Don’t Disclose
Professional spray foam installation requires specialized equipment that contractors don’t always own. The high-pressure spray rigs, heated hoses, and mixing chambers cost tens of thousands of dollars. Rather than invest in equipment for occasional jobs, many contractors rent and pass those costs directly to you.
Daily equipment rental runs $300-800, and complex jobs requiring multiple foam types need different spray systems. You’re also paying for:
- Backup equipment in case of breakdowns ($200-400/day)
- Transportation and setup fees ($150-300)
- Equipment cleaning and maintenance ($100-250)
Some contractors even charge “equipment insurance” fees to cover potential damage during your project. These rental costs rarely appear in initial quotes but show up as line items on final invoices.
Cleanup and Disposal Costs Added After Installation
Spray foam installation creates a mess that goes far beyond what most homeowners imagine. The cleanup process involves specialized solvents, protective equipment, and proper disposal of contaminated materials. Contractors treat this extensive cleanup as an afterthought in their initial pricing.
Post-installation cleanup includes removing overspray from surfaces, disposing of contaminated protective materials, and cleaning equipment on-site. The foam residue requires chemical solvents that cost $50-100 per gallon, and proper disposal of these chemicals adds another $200-500 to your bill.
Air quality restoration often requires professional ventilation for 24-48 hours after installation, especially with closed-cell foam that releases chemicals during curing. This “fresh air service” can cost an additional $300-800, depending on your home’s size and local regulations requiring specific air quality standards before re-occupancy.
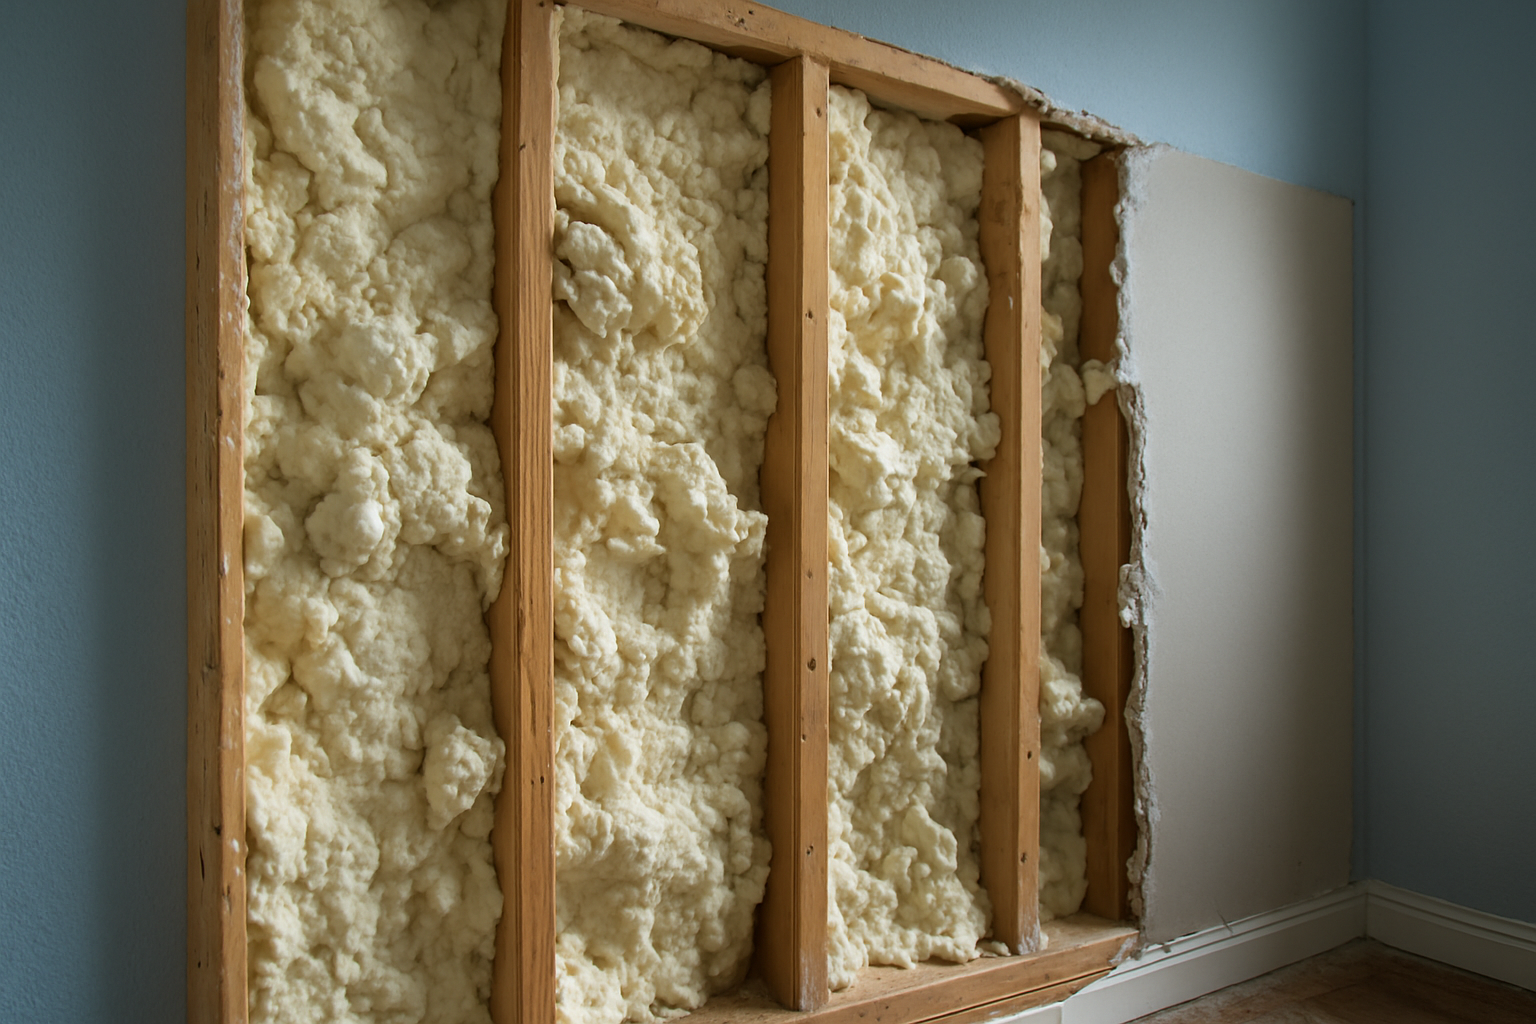
Not All Spray Foam Types Deliver the Same Performance
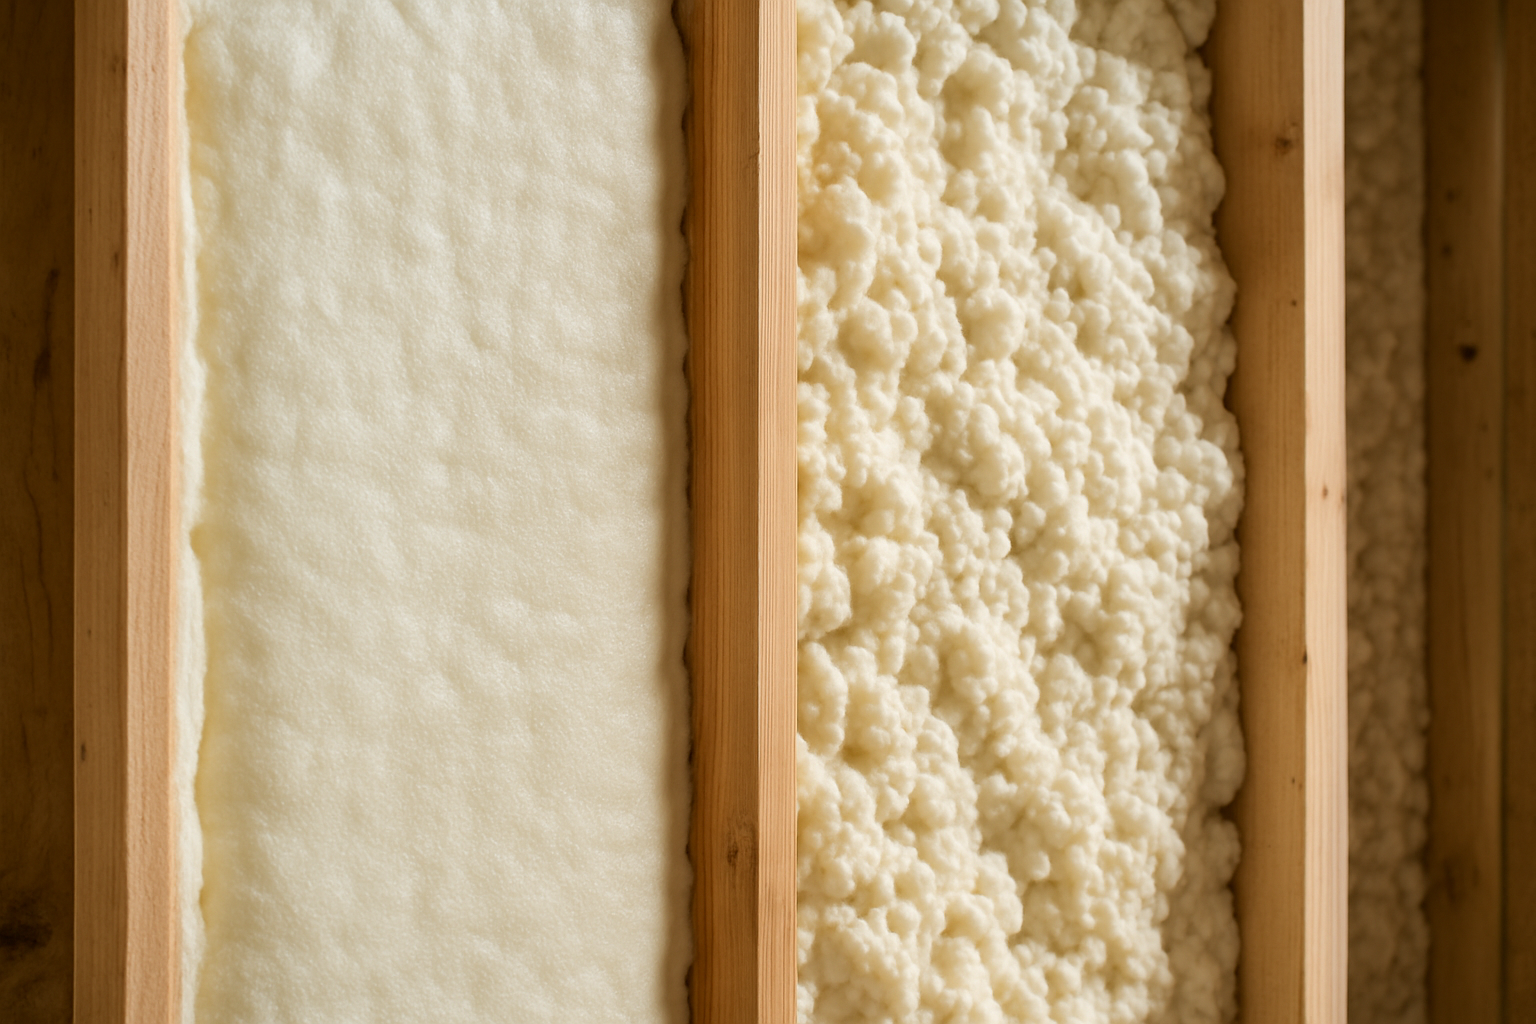
Open-Cell vs Closed-Cell Differences Contractors Downplay
Many contractors treat spray foam like it’s all the same product, but the reality couldn’t be more different. Open-cell and closed-cell spray foam perform completely differently, and these differences dramatically affect your home’s comfort and energy efficiency.
Open-cell foam has a spongy texture and acts as an excellent sound barrier, but it only provides an R-value of about 3.5 per inch. It’s permeable to moisture, which means it allows water vapor to pass through. Closed-cell foam, on the other hand, delivers an R-value of 6-7 per inch and creates a moisture barrier that can actually strengthen your home’s structure.
| Feature | Open-Cell | Closed-Cell |
|---|---|---|
| R-Value per inch | 3.5 | 6-7 |
| Moisture barrier | No | Yes |
| Sound dampening | Excellent | Good |
| Structural strength | None | Adds rigidity |
| Cost | Lower | Higher |
The problem? Contractors often push the cheaper open-cell option without explaining that you’ll need twice as much thickness to achieve similar insulation values. They’ll also skip mentioning that open-cell foam can absorb water if your roof ever leaks, turning into a soggy mess that breeds mold.
Why Cheaper Foam Options Cost More Long-Term
The spray foam market is flooded with budget options that seem attractive upfront but create expensive problems down the road. Cheaper foams often contain inferior blowing agents that break down over time, causing the foam to shrink and create gaps in your insulation.
Low-quality foam formulations also tend to cure incorrectly, especially in Toronto’s variable humidity conditions. When foam doesn’t cure properly, it remains tacky or develops an unpleasant odor that can persist for months. Some homeowners have had to evacuate their homes temporarily due to off-gassing from poorly formulated foam.
Budget foam products frequently have shorter lifespans. While quality spray foam should last 50+ years, cheaper alternatives may start failing within 5-10 years. The costs add up quickly:
- Energy bills remain high due to poor performance
- Air sealing failures require additional work
- Potential health issues from off-gassing
- Premature replacement costs
- Possible structural damage from moisture infiltration
Climate-Specific Foam Requirements for Toronto Weather
Toronto’s climate presents unique challenges that many contractors either don’t understand or choose to ignore. The city experiences significant temperature swings, high humidity in summer, and extended freezing periods that put stress on insulation systems.
Closed-cell foam works best in Toronto’s climate because it handles freeze-thaw cycles without degrading. The city’s building science experts recommend closed-cell foam for exterior applications and below-grade installations specifically because it won’t absorb moisture during Toronto’s wet springs and humid summers.
Open-cell foam can work in Toronto, but only in specific applications and with proper vapor barriers. Many contractors install open-cell foam in basements or on exterior walls without addressing moisture management, leading to condensation problems and potential mold growth.
The seasonal temperature variations in Toronto also affect foam expansion and contraction. Quality foam products are formulated to handle these thermal movements, but cheaper alternatives may crack or separate from surfaces during extreme temperature changes. Winter temperatures that drop below -20°C can be particularly challenging for inferior foam products.
Your contractor should specify foam products that are tested and approved for Canadian climate conditions. Products designed for warmer climates may fail when exposed to Toronto’s harsh winters, leaving you with compromised insulation when you need it most.
Installation Timing Can Make or Break Your Results
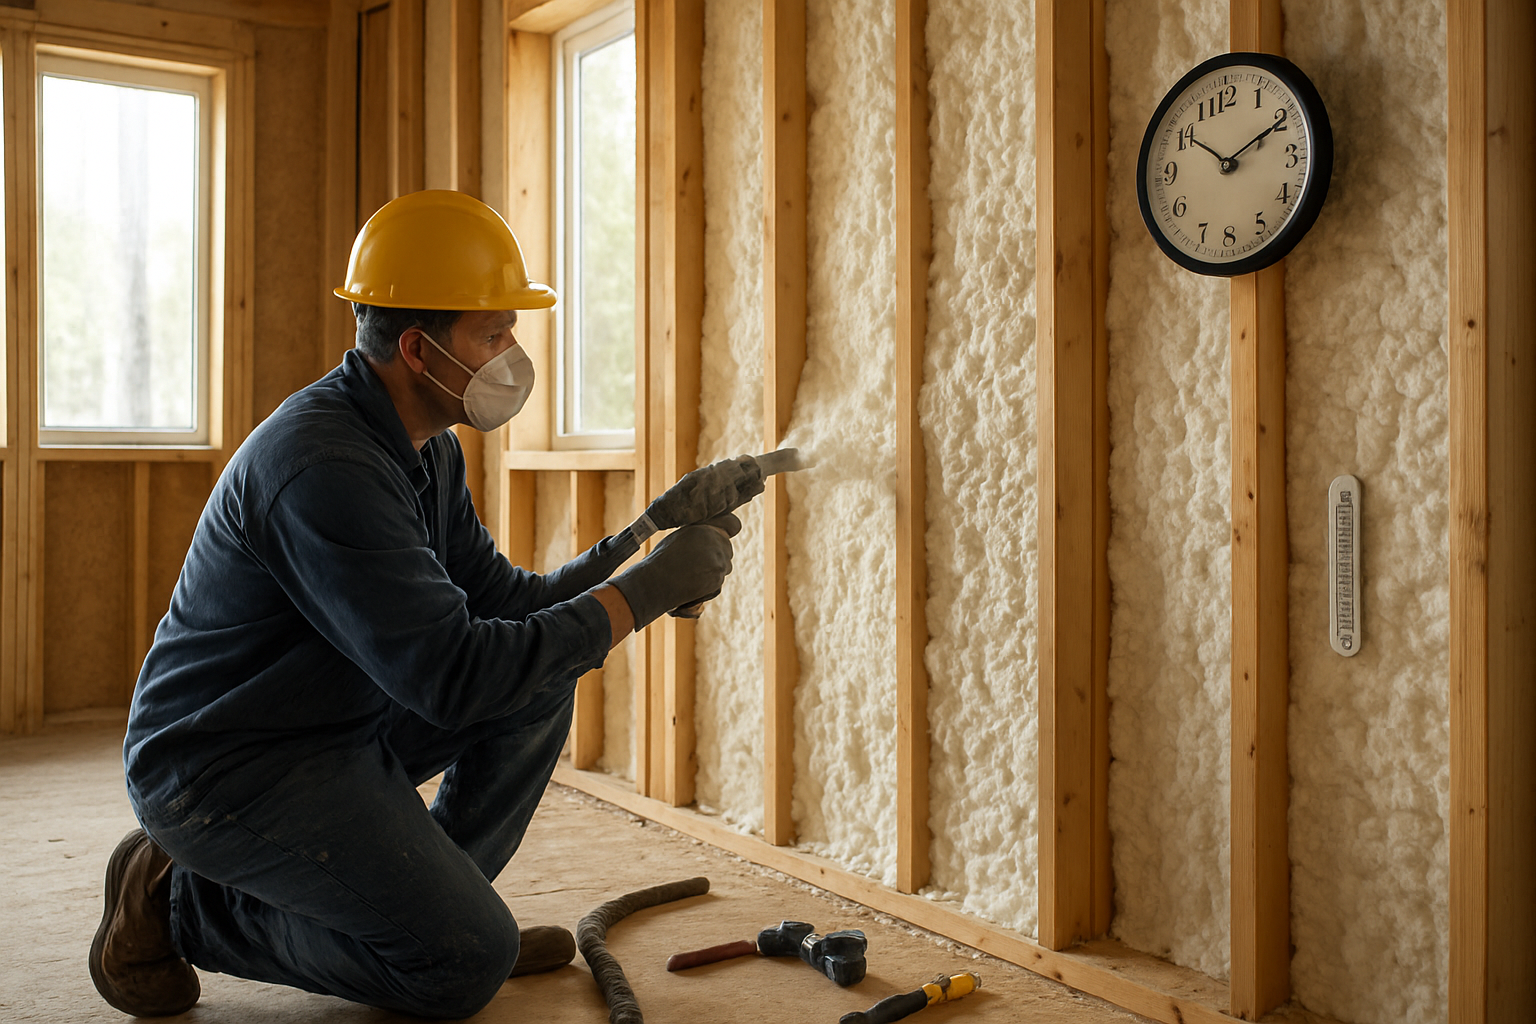
Temperature and Humidity Requirements Contractors Ignore
Many contractors treat spray foam application like painting a wall—just show up and start spraying. The reality? Environmental conditions make or break the entire job. Spray foam requires specific temperature and humidity ranges to cure properly, typically between 60-80°F with humidity levels below 85%. When contractors ignore these requirements, the foam won’t expand correctly, leaving gaps in coverage and reducing its insulating properties.
Cold weather creates particularly nasty problems. The chemical reaction that makes foam expand slows dramatically in low temperatures, leading to incomplete curing and poor adhesion to surfaces. Hot, humid conditions aren’t much better—excess moisture interferes with the chemical process, causing foam to become brittle or develop an inconsistent texture.
Professional contractors should always measure ambient conditions before starting work and may need to condition the workspace for optimal results. This might mean delaying the job or bringing in temporary heating or dehumidification equipment—steps that cost time and money most contractors prefer to skip.
Why Rushing the Job Leads to Poor Adhesion
Speed kills quality in spray foam installation. The foam needs time to properly bond with surfaces, but contractors under pressure often apply it too quickly or move to the next area before the previous application has properly adhered. This rush job mentality creates weak points where the foam can separate from walls, ceilings, or other surfaces over time.
Proper application requires cleaning surfaces beforehand, allowing each layer to partially cure before adding more, and ensuring even coverage without overspray. Contractors who rush through these steps end up creating air pockets, uneven thickness, and poor surface adhesion that won’t show up until months or years later when the foam starts pulling away from the substrate.
The financial pressure contractors face often drives this behavior—they’ve quoted a job based on getting in and out quickly, so taking the time to do it right cuts into their profit margins.
Seasonal Factors That Affect Foam Performance
Spring installation might seem ideal, but melting snow and ice can create moisture problems that interfere with foam application. Summer brings its own challenges with extreme heat causing rapid curing that doesn’t allow proper expansion, while winter’s cold temperatures slow the chemical reaction to a crawl.
Fall often provides the best conditions—stable temperatures and lower humidity—but many contractors don’t adjust their techniques based on seasonal variations. They use the same application methods year-round, ignoring how weather affects the foam’s performance characteristics.
Seasonal temperature swings also impact how the foam will perform once installed. Foam applied in winter may behave differently once summer heat hits, potentially expanding beyond its intended boundaries or contracting more than expected.
Proper Curing Time Most Contractors Skip
Here’s where contractors really cut corners: proper curing time. While spray foam might look solid within hours, complete curing takes 24-48 hours depending on thickness, temperature, and humidity. During this critical period, the foam continues its chemical reaction and reaches full strength and insulating properties.
Contractors often schedule follow-up work too quickly, walking on freshly sprayed surfaces or installing drywall before the foam has fully cured. This can compress the foam, reducing its R-value, or cause it to pull away from surfaces it should bond with.
The curing process also releases chemical vapors that need proper ventilation. Contractors who rush to seal up the space prevent these vapors from escaping, potentially creating indoor air quality issues and preventing the foam from reaching its intended performance specifications.
Smart homeowners insist on proper curing time and refuse to let contractors rush the process, even if it means project delays.
Your Home’s Ventilation Needs Will Change Dramatically
Air Circulation Problems Created by Complete Sealing
Spray foam creates an incredibly tight building envelope, which sounds great until you realize your home can no longer “breathe” naturally. Traditional homes rely on small air leaks around windows, doors, and other penetrations to provide fresh air circulation. When contractors spray foam every crack and crevice, they eliminate these natural air exchanges.
This complete sealing can lead to stagnant indoor air that recirculates the same pollutants, allergens, and odors. Without proper ventilation planning, you might notice:
- Cooking smells lingering for hours
- Humidity levels that feel uncomfortable
- Stuffiness that makes rooms feel oppressive
- Indoor air quality that gradually degrades over time
Many contractors focus on selling the energy savings without explaining that you’ll need mechanical ventilation to replace the natural air movement you just eliminated. This isn’t just about comfort—it’s about maintaining healthy indoor air quality for your family.
Moisture Buildup Issues Contractors Don’t Warn About
The same airtight seal that improves energy efficiency can create serious moisture problems if not properly managed. Everyday activities like cooking, showering, and even breathing release water vapor into your home. Without adequate ventilation, this moisture gets trapped inside.
Excess humidity can lead to:
| Problem Area | Potential Issues |
|---|---|
| Windows | Condensation, mold growth on frames |
| Bathrooms | Persistent humidity, mildew on surfaces |
| Basements | Musty odors, potential structural moisture |
| Attics | Ice dams in winter, mold growth |
Smart contractors should discuss vapor barriers and moisture management strategies before installation. Unfortunately, many skip this conversation because addressing moisture properly adds complexity and cost to the project. They assume your existing ventilation will handle the extra moisture load, but that’s rarely the case with a completely sealed home.
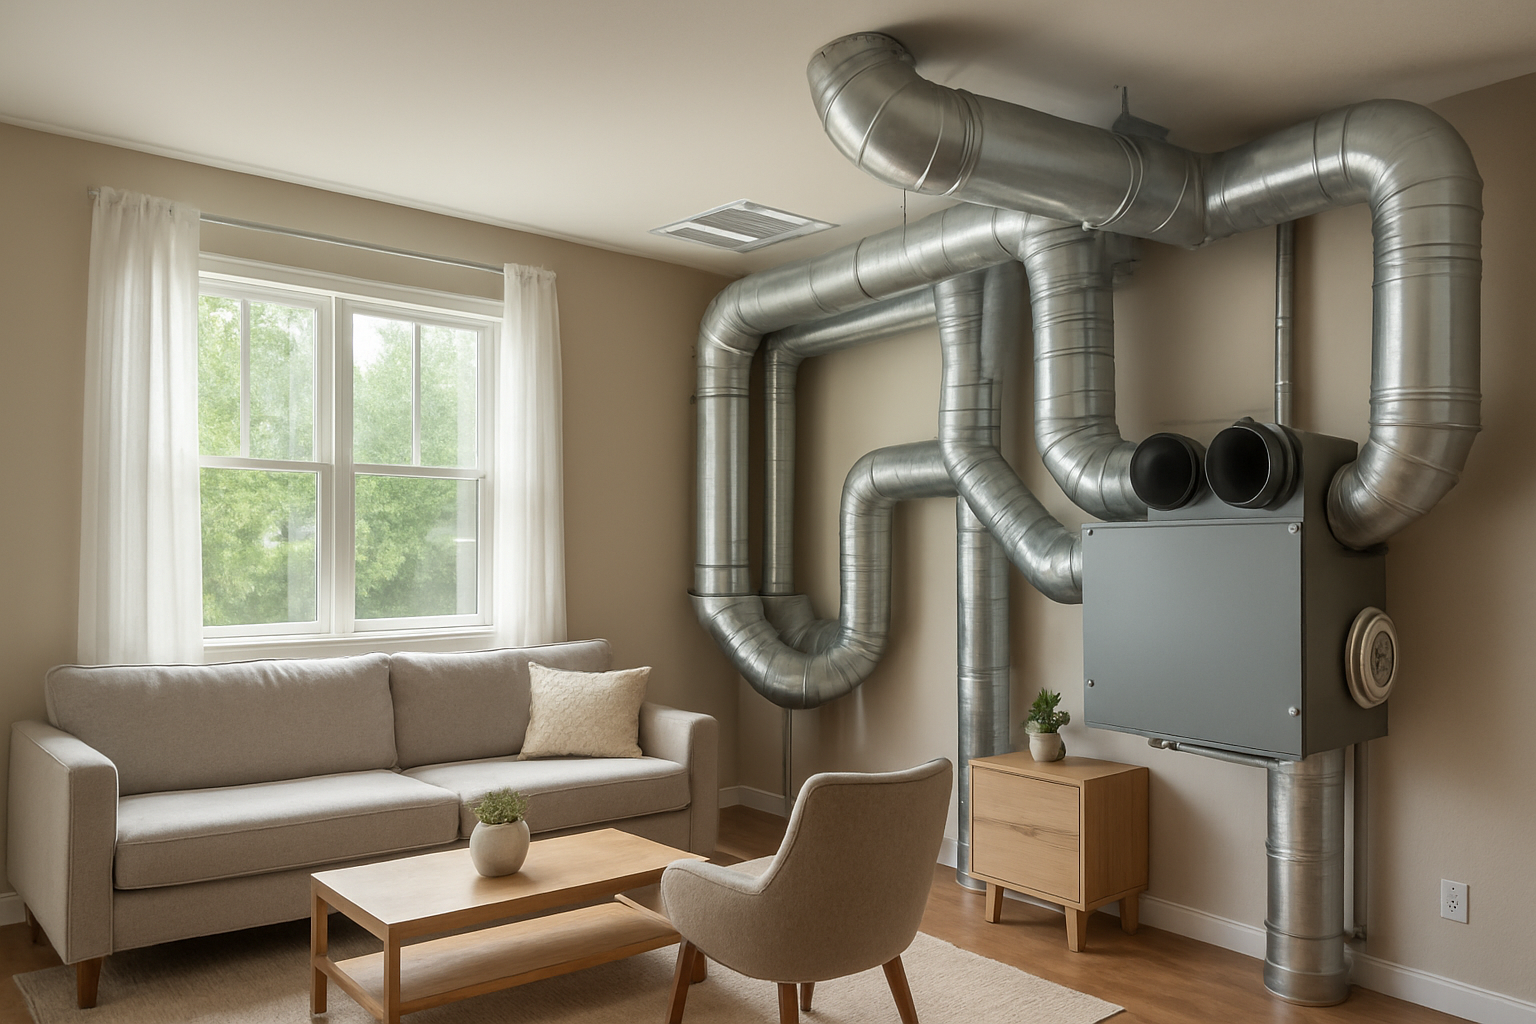
HVAC System Adjustments Required After Installation
Your heating and cooling system was designed for your home’s original air leakage rate. After spray foam installation, your HVAC system will likely need significant adjustments or upgrades to work efficiently in the new environment.
Common issues include:
- Oversized equipment: Your furnace or air conditioner may now be too powerful for the reduced heating and cooling loads
- Ductwork imbalances: Air distribution patterns change when the building envelope tightens dramatically
- Fresh air requirements: You’ll need to integrate mechanical ventilation with your existing HVAC system
Professional contractors should perform load calculations after spray foam installation to ensure your HVAC system operates correctly. This might involve installing energy recovery ventilators, adjusting dampers, or even replacing equipment that’s now oversized for your home’s needs. Without these adjustments, you could experience uneven temperatures, poor humidity control, and equipment that cycles on and off too frequently.
Building Code Compliance Issues They Hope You’ll Miss
Fire Safety Requirements for Spray Foam Applications
Spray foam installation must meet strict fire safety standards that many contractors either ignore or don’t fully understand. Building codes require specific fire-rated coverings over spray foam insulation in most areas of your home. You can’t just spray foam directly onto basement ceiling joists or attic spaces and call it done.
The foam needs a thermal barrier – usually drywall or other approved materials – to prevent rapid flame spread during a fire. Some contractors skip this step entirely or use inadequate coverings to save time and money. Open-cell and closed-cell foams have different fire rating requirements, and mixing up these specifications can leave your home dangerously non-compliant.
High-density spray foam applications often require additional fire suppression considerations. Contractors sometimes apply foam beyond approved thickness limits, which changes the fire characteristics completely. When spray foam burns, it releases toxic gases much faster than traditional insulation materials.
Vapor Barrier Regulations Contractors Often Violate
Building codes have specific rules about vapor barriers and moisture control, especially when spray foam enters the picture. Closed-cell spray foam acts as both insulation and vapor barrier, but contractors frequently mess up the application thickness needed to meet code requirements.
Many spray foam installations violate codes by creating improper vapor barrier configurations. You might end up with conflicting vapor barriers on different sides of your wall assembly, trapping moisture and creating mold problems. Some contractors apply spray foam over existing vapor barriers without removing them first, creating a double vapor barrier situation that codes specifically prohibit.
Climate zone requirements dictate where and how vapor barriers should be installed with spray foam. Contractors working across different regions often apply one-size-fits-all approaches that violate local moisture control requirements. The wrong vapor barrier configuration can cause catastrophic moisture problems that insurance won’t cover because they stem from code violations.
Permit Requirements Many Contractors Skip
Most spray foam installations require building permits, but contractors regularly skip this step to avoid delays and additional costs. They’ll tell you permits aren’t necessary for “just insulation work,” but that’s false. Any spray foam application that changes your home’s thermal envelope or involves structural elements needs proper permitting.
Permit applications require detailed plans showing foam types, thickness, coverage areas, and fire safety measures. Contractors avoid permits because they don’t want building inspectors scrutinizing their work or questioning their methods. Working without permits puts you at risk for enforcement actions, fines, and complications when selling your home.
Some contractors use permit exemptions inappropriately. Small repair work might not need permits, but whole-house spray foam applications always do. Insurance companies can deny claims for unpermitted work, leaving you responsible for any problems or damage that occurs.
Inspection Failures That Become Your Responsibility
Building inspectors check spray foam installations for thickness, coverage, fire safety compliance, and proper application techniques. Many contractors rush through installations knowing they can avoid inspections by skipping permits entirely. When problems surface later, you’re left dealing with code enforcement while the contractor has moved on to other jobs.
Inspection failures often reveal serious application problems: insufficient thickness, improper mixing ratios, inadequate surface preparation, or missing fire barriers. Contractors might promise to fix issues before inspection, but scheduling conflicts and cost concerns often lead to corners being cut on repairs.
Failed inspections can halt other construction work and require expensive remediation. You become responsible for bringing the work up to code, even if the contractor disappears or refuses to address the problems. Some inspection failures require complete foam removal and reinstallation, turning a relatively simple insulation job into a major renovation project.
Smart homeowners verify permit requirements independently and insist on proper inspections regardless of what contractors recommend. Your local building department can explain specific requirements for spray foam applications in your area.
Health and Safety Risks During and After Installation

Chemical Exposure Dangers During Application
Most contractors won’t tell you that spray foam installation involves serious chemical hazards. The two-part polyurethane system contains isocyanates, which can cause severe respiratory issues, skin irritation, and even chemical burns. These chemicals become airborne during application, creating an invisible danger zone that extends well beyond the immediate work area.
Methylene diphenyl diisocyanate (MDI), the primary hardening agent, poses particular risks. Short-term exposure can trigger asthma attacks, while repeated exposure may lead to chemical sensitization – a condition where even tiny amounts of the substance can cause severe allergic reactions. Workers and homeowners who don’t understand these risks often experience burning eyes, throat irritation, and difficulty breathing during installation.
Off-Gassing Periods Contractors Don’t Explain
Spray foam continues releasing chemicals long after installation, but many contractors downplay this reality. Freshly applied foam can off-gas for 24 to 72 hours, though some formulations may continue emitting vapors for weeks. During this period, your home becomes essentially uninhabitable without proper ventilation.
The off-gassing process releases volatile organic compounds (VOCs) including:
- Toluene diisocyanate residues
- Amine catalysts
- Flame retardant chemicals
- Unreacted polyol components
Temperature and humidity affect off-gassing rates, meaning hot summer days or humid conditions can extend the danger period significantly. Some homeowners report headaches, nausea, and respiratory irritation lasting weeks after installation because contractors failed to warn them about proper ventilation requirements during curing.
Proper Protective Equipment Requirements
Professional spray foam application demands full personal protective equipment (PPE), yet many contractors cut corners to save time and money. The minimum safety gear includes:
| Equipment Type | Specification | Purpose |
|---|---|---|
| Respirator | Full-face with P100 filters | Chemical vapor protection |
| Suit | Tyvek or chemical-resistant | Skin barrier |
| Gloves | Nitrile or neoprene | Hand protection |
| Eye protection | Chemical splash goggles | Eye safety |
Half-face respirators or dust masks provide inadequate protection against isocyanate vapors. Contractors who show up without proper gear are gambling with everyone’s health. Even small residential jobs require the same level of protection as industrial applications because the chemicals don’t become less dangerous in smaller quantities.
Long-Term Indoor Air Quality Impacts
Spray foam’s impact on indoor air quality extends far beyond the initial installation period. Poorly mixed foam may continue off-gassing for months or even years, creating ongoing health concerns. Fish-eye patterns, discoloration, or soft spots in cured foam often indicate chemical imbalances that lead to prolonged emissions.
Closed-cell foam creates an airtight seal that can trap indoor pollutants, making proper mechanical ventilation systems essential. Without adequate air exchange, humidity levels rise, potentially creating mold problems despite the foam’s moisture barrier properties. Some families discover they need expensive HVAC modifications to maintain healthy indoor air quality after spray foam installation.
Quality control issues compound these problems. Foam applied at incorrect temperatures, with improper mixing ratios, or over contaminated surfaces may never fully cure, continuing to emit harmful chemicals indefinitely. These scenarios often require complete removal and reinstallation – an expensive process that many insurance policies won’t cover.
Quality Control Problems Hidden Behind Closed Walls
Thickness Inconsistencies You Can’t See
Once spray foam gets applied and your walls are closed up, you’re essentially flying blind. Professional installations require specific thickness measurements to achieve the R-value you paid for, but many contractors skip this crucial step. The foam might look perfect from the outside, but hidden areas could have thin spots that dramatically reduce insulation performance.
Standard closed-cell spray foam needs about 2-3 inches for optimal performance, while open-cell requires 6-10 inches. Without proper measurement tools and systematic application, contractors often eyeball these depths. Some areas might get twice the needed thickness while others fall short by 50% or more. You won’t discover these problems until your energy bills stay high or moisture issues develop years later.
The worst part? Most homeowners never realize they have thickness problems because thermal imaging inspections rarely happen after installation. Contractors know that once the walls are finished, proving inadequate thickness becomes nearly impossible without destructive testing.
Gap Coverage Shortcuts That Reduce Effectiveness
Professional spray foam installation demands meticulous attention to every crack, corner, and junction. However, rushed contractors often take shortcuts that leave critical gaps unfilled. These missed spots create thermal bridges that allow heat transfer and air infiltration, completely undermining the insulation’s effectiveness.
Common problem areas include:
- Rim joists and foundation connections – Often partially filled or missed entirely
- Electrical and plumbing penetrations – Quick foam blasts instead of careful sealing
- Wall-to-ceiling joints – Difficult access areas that get skipped
- Around windows and doors – Complex geometries that require patience
Even a 5% gap in coverage can reduce overall thermal performance by 25-30%. Air finds these weak spots and creates convection loops that carry heat right through your expensive insulation system. Contractors banking on speed over quality know you won’t discover these shortcuts until winter heating bills arrive.
Overspray Damage Contractors Won’t Mention
Spray foam expands aggressively and sticks to absolutely everything it touches. Experienced contractors should protect all surfaces, but many skip this time-consuming step. The result? Foam residue on windows, electrical fixtures, HVAC equipment, and finished surfaces that becomes your expensive problem to fix.
Removing cured spray foam often requires:
- Chemical solvents that can damage underlying materials
- Mechanical scraping that scratches or gouges surfaces
- Professional restoration services costing thousands of dollars
- Replacement of contaminated equipment like furnace components
Smart contractors carry liability insurance for overspray damage, but many operate with minimal coverage or try to blame homeowners for not protecting their property adequately. They know that foam removal costs often exceed the original installation price, making it a significant financial risk they’d rather not discuss upfront.
The expanding nature of the foam means even small mistakes create big problems. A single misplaced spray can ruin expensive appliances or require refinishing entire rooms.
Warranty Limitations That Leave You Unprotected
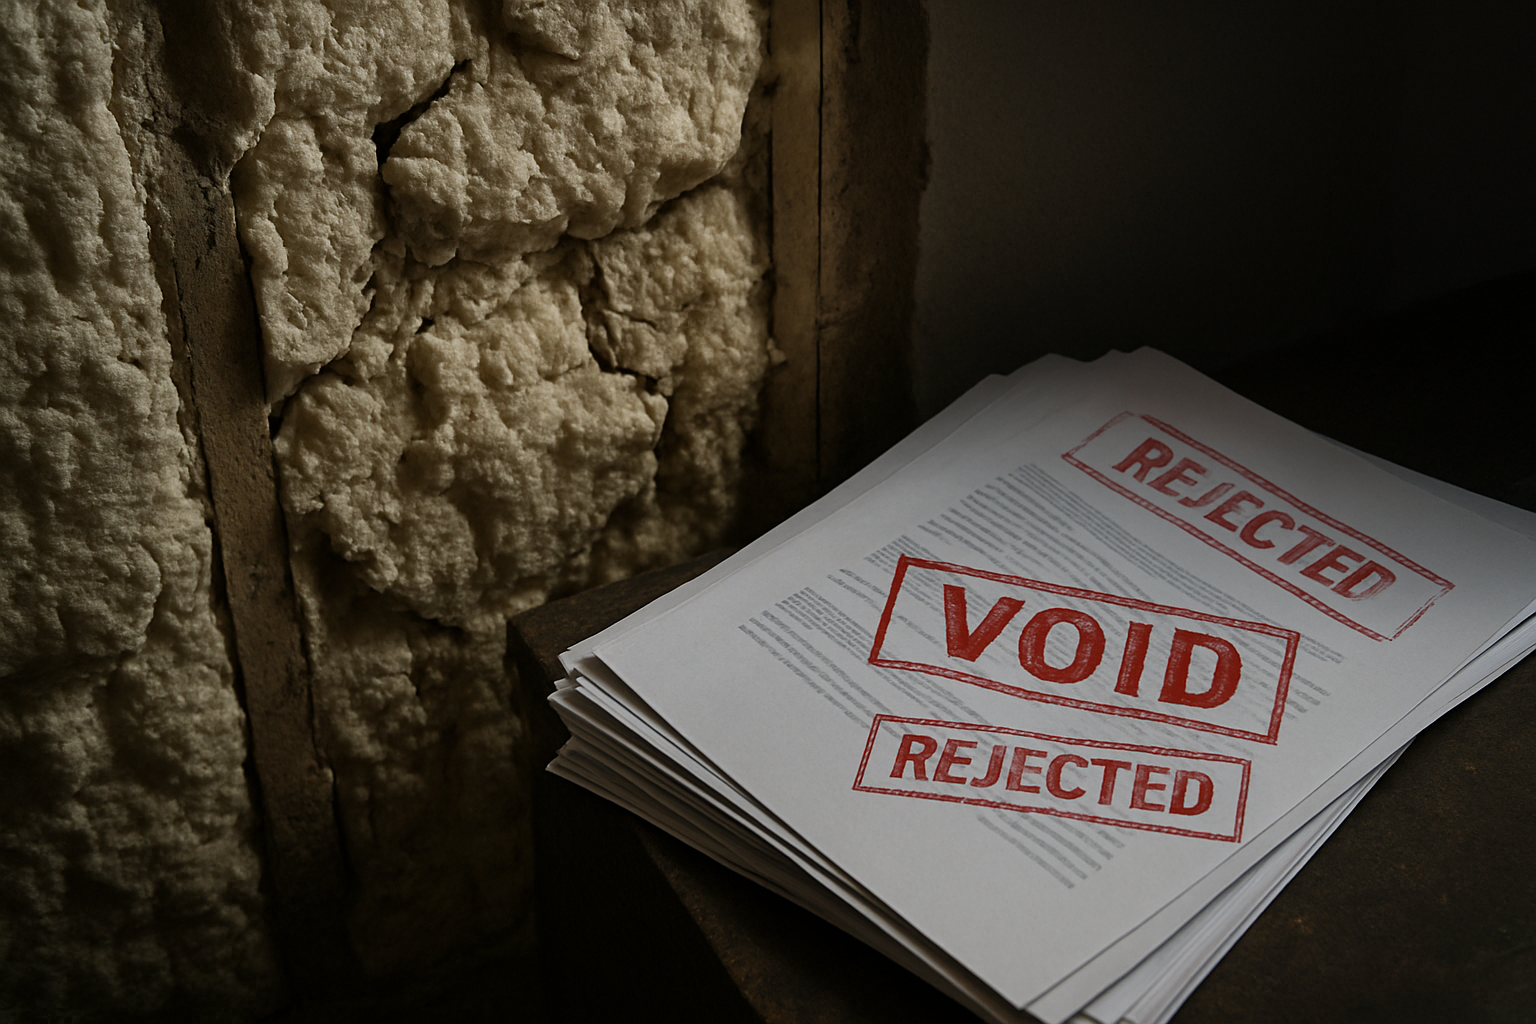
Performance Guarantees with Major Loopholes
Spray foam warranties often promise impressive performance metrics like R-value retention and air sealing effectiveness, but the fine print tells a different story. Most contractors highlight 25-year or lifetime warranties without mentioning the conditions that void coverage. Temperature fluctuations, moisture exposure, or even normal settling can trigger warranty exclusions that leave you paying for repairs.
The biggest loophole involves performance degradation over time. While contractors promise consistent R-values, warranties typically only cover complete failure, not gradual performance decline. If your energy bills creep up because the foam has lost 20% of its insulating power, you’re out of luck unless it fails completely.
Installation Defects Not Covered Under Warranty
Here’s what contractors don’t mention: most warranties exclude coverage for installation-related problems. Overspray damage to electrical components, improper mixing ratios, or incomplete coverage often fall outside warranty protection. The reasoning? These issues stem from “workmanship errors” rather than product defects.
Common installation problems that warranties won’t cover include:
- Thermal bridging from incomplete coverage
- Cracking or shrinkage from temperature variations during application
- Poor adhesion to substrate materials
- Density variations that create weak spots
- Contamination from dust or moisture during installation
Manufacturer vs Contractor Warranty Confusion
The warranty maze gets more complicated when you realize you’re dealing with two separate agreements. The manufacturer warranties the spray foam material itself, while the contractor warranties the installation. When problems arise, both parties often point fingers at each other, leaving you stuck in the middle.
Manufacturer warranties typically cover material defects like premature breakdown or chemical failures. Contractor warranties should cover installation quality, but many limit their liability to reapplication costs only. Property damage from installation errors rarely gets covered by either party.
Claim Procedures Designed to Discourage You
Filing warranty claims involves jumping through hoops that would make circus performers jealous. Contractors often require extensive documentation, including original installation photos, temperature logs, and professional inspections at your expense. The process can take months, during which you’re dealing with the consequences of failed insulation.
Most claim procedures include these roadblocks:
- Mandatory waiting periods before claims can be filed
- Required third-party inspections that cost hundreds of dollars
- Proof of proper maintenance that’s nearly impossible to document
- Limited claim windows that expire faster than you’d expect
- Arbitration clauses that prevent you from pursuing legal action
The reality is that successful warranty claims are rare. Contractors design these procedures to be so cumbersome that most homeowners give up and pay for repairs out of pocket rather than fight through the bureaucratic nightmare.
Removal and Modification Challenges Down the Road
Renovation Complications Caused by Spray Foam
Spray foam creates a permanent bond with structural elements that transforms your home into something closer to a sealed unit. When you decide to remodel your kitchen, add a bathroom, or reconfigure room layouts years later, that seemingly beneficial adhesion becomes your worst enemy.
The foam doesn’t just stick to surfaces—it infiltrates every crack, crevice, and gap in your walls, ceiling joists, and subflooring. Contractors who install spray foam rarely mention how this affects future renovation plans. Standard drywall removal becomes a demolition project requiring specialized tools and significantly more labor hours.
Traditional insulation pulls out easily during renovations, allowing clean access to framing members for modifications. Spray foam, however, often requires cutting or grinding away sections of the actual wood framing to remove it completely. This weakens structural elements and creates additional repair work that adds thousands to renovation budgets.
Window and door replacements present particular challenges. The foam bonds so tightly to frames that removing old windows often damages surrounding framing members. New installations require extensive preparation work to create proper surfaces for mounting hardware.
Electrical and Plumbing Access Issues
Spray foam encases electrical wiring and plumbing lines in a rigid cocoon that makes future access nearly impossible without major demolition. Electricians and plumbers charge premium rates for spray foam jobs because simple tasks become complex excavation projects.
Adding new electrical outlets, upgrading panel circuits, or installing smart home wiring requires cutting through cured foam to locate existing cables. The foam’s density makes it difficult to fish new wires through walls, forcing contractors to create larger access holes and perform more invasive work.
Plumbing repairs present even greater challenges. When pipes develop leaks or require replacement, the foam must be carefully removed without damaging the pipes themselves. Water damage from leaks can also compromise foam integrity, creating pockets of saturated material that harbor mold growth.
| Modification Type | Standard Insulation | Spray Foam |
|---|---|---|
| Adding electrical outlet | 1-2 hours | 4-6 hours |
| Plumbing repair access | 30 minutes | 2-3 hours |
| HVAC ductwork changes | 2-3 hours | Full day project |
Emergency repairs become expensive nightmares when contractors need immediate access to utilities buried behind spray foam barriers.
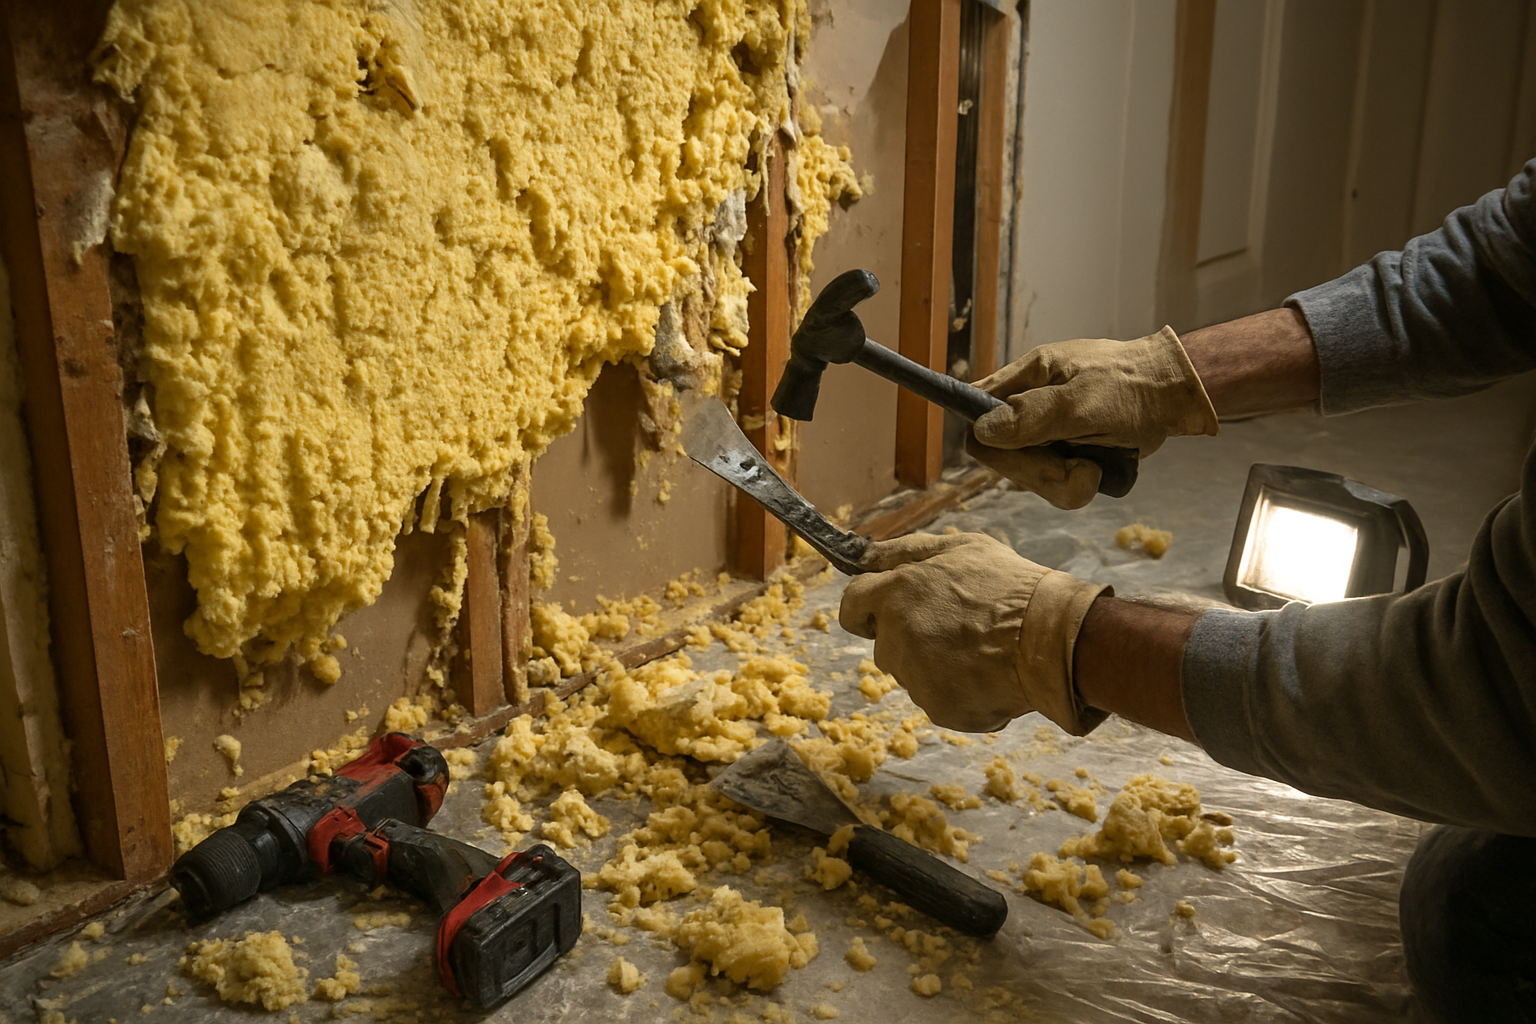
Disposal Costs When Foam Needs Replacing
Spray foam disposal isn’t as simple as tossing old fiberglass batts in a dumpster. Most types of spray foam contain chemicals that classify them as special waste requiring specific disposal methods and facilities.
Standard construction waste companies won’t accept spray foam debris, forcing you to hire specialized hazmat disposal services. These companies charge by weight and volume, with typical costs ranging from $200-500 per cubic yard of foam material.
The removal process itself generates significant waste volume because foam often brings attached building materials with it during extraction. You’re not just paying to dispose of the foam—you’re also disposing of drywall, vapor barriers, and sometimes portions of framing lumber that couldn’t be separated cleanly.
Older spray foam formulations containing certain blowing agents face even stricter disposal requirements. Some older foams require incineration at specific temperatures, driving disposal costs even higher. These environmental compliance costs get passed directly to homeowners when replacement becomes necessary.
Professional removal services often charge $3-8 per square foot just for extraction, before factoring in disposal fees. A typical basement spray foam removal project can easily cost $5,000-15,000 before installing replacement insulation, making it one of the most expensive home improvement mistakes to correct.
Spray foam insulation can transform your home’s energy efficiency, but only when you know what questions to ask and red flags to watch for. The hidden costs, performance differences between foam types, and critical timing requirements aren’t just technical details – they’re factors that can save or cost you thousands of dollars. Your contractor should be upfront about ventilation changes, building code requirements, and health considerations, not leave you to discover these issues after the work is done.
Don’t let contractors take advantage of your trust. Ask about total project costs including any required ventilation upgrades, verify their experience with your specific foam type, and get detailed warranties in writing. Most importantly, hire someone who treats building code compliance and safety protocols as non-negotiables, not inconveniences. Your home is your biggest investment – make sure your spray foam installation protects that investment instead of creating expensive problems you’ll have to fix later.