
Planning your 2026 spray foam insulation project in Toronto? You need real numbers before you commit to this major home improvement investment.
This guide is for Toronto homeowners and contractors who want accurate, up-to-date pricing for 2-inch spray foam installation. You’ll get the facts you need to budget properly and avoid costly surprises.
We’ll break down current market rates for different spray foam types in the Toronto area and reveal the hidden costs that can double your project budget. You’ll also discover whether professional installation is worth the extra expense compared to DIY options, plus practical strategies to get maximum value from your spray foam investment.
Current Market Rates for 2-Inch Spray Foam in Toronto
Open-cell spray foam pricing per square foot
You’ll find open-cell spray foam costs ranging from $1.50 to $3.50 per square foot for 2-inch thickness in Toronto’s current market. This pricing covers materials and basic installation, but your final cost depends on several variables. Smaller projects under 1,000 square feet typically push rates toward the higher end since contractors need to cover their setup costs and minimum service fees.
Your project size significantly affects pricing. Jobs covering 2,000 square feet or more often qualify for volume discounts, bringing costs down to $1.75-$2.25 per square foot. Open-cell foam works best for interior applications where you need sound dampening and basic thermal insulation. You’ll get an R-value of approximately 7-8 for your 2-inch application.
Most Toronto contractors quote open-cell installations with a standard warranty covering material defects and workmanship for 5-10 years. Your quote should include surface preparation, application, and cleanup, but always verify what’s included before signing contracts.
Closed-cell spray foam cost breakdown
Closed-cell spray foam commands premium pricing at $3.50 to $6.50 per square foot for 2-inch applications across Toronto. You’re paying more because this product delivers superior performance with higher R-values, moisture resistance, and structural strength enhancement.
Your 2-inch closed-cell installation provides R-13 to R-15 insulation value, nearly double what open-cell offers. This makes closed-cell ideal for exterior applications, basements, and areas where moisture control matters most.
| Application Area | Price Range | R-Value | Best Use Case |
|---|---|---|---|
| Attic/Roof Deck | $4.50-$6.50/sq ft | R-13-15 | Weather barrier |
| Basement Walls | $4.00-$5.50/sq ft | R-13-15 | Moisture control |
| Crawl Spaces | $3.50-$5.00/sq ft | R-13-15 | Vapor barrier |
Your investment includes the spray foam material, professional application equipment, and skilled labor. Many contractors offer package deals when you’re insulating multiple areas simultaneously, potentially reducing your per-square-foot cost by 10-15%.
Regional price variations across GTA neighborhoods
Your location within the Greater Toronto Area directly impacts spray foam pricing due to varying contractor availability, transportation costs, and local market competition. Downtown Toronto typically sees the highest rates, with prices running 15-25% above suburban areas.
Premium pricing zones include:
- Financial District and downtown core
- Yorkville and Rosedale
- The Beaches and Leslieville
- King West and Entertainment District
These areas command higher rates because contractors face parking challenges, longer setup times, and increased operational costs. You might pay $4.50-$7.00 per square foot for closed-cell applications in these neighborhoods.
Moderate pricing zones cover:
- Scarborough and Etobicoke suburbs
- North York residential areas
- Mississauga and Brampton
- Vaughan and Richmond Hill
You’ll find more competitive pricing here, typically 10-20% below downtown rates. Contractors have easier access, lower overhead costs, and face stronger competition from local providers.
Value pricing zones include:
- Outer GTA communities like Ajax, Pickering
- Hamilton and surrounding areas
- Oshawa and Whitby
- Milton and Oakville outskirts
Your savings in these areas can reach 25-30% compared to downtown Toronto pricing, making spray foam installations more budget-friendly while maintaining the same quality standards.
Seasonal pricing fluctuations and optimal timing
Your timing for spray foam installation significantly affects your final cost. Toronto’s construction industry follows predictable seasonal patterns that create pricing opportunities for smart homeowners.
Peak season (April-September) brings the highest demand and pricing. You’ll face:
- 20-35% higher rates than off-season
- Limited contractor availability
- Longer project wait times
- Premium charges for rush jobs
Optimal timing (October-March) offers the best value. You’ll benefit from:
- Reduced pricing as contractors seek winter work
- Faster scheduling and project completion
- More negotiating power on rates
- Contractor incentives and promotions
January through March typically provides the deepest discounts, with some contractors offering 15-25% reductions to maintain steady work during slower months. Your project gets more attention since crews aren’t juggling multiple jobs simultaneously.
Weather considerations don’t significantly impact indoor spray foam applications, making winter installations perfectly viable. Many contractors actually prefer working indoors during cold months, leading to better pricing and service for your project.
Book your spray foam installation during shoulder seasons (late October-November or February-early March) to balance cost savings with moderate weather conditions. You’ll avoid peak pricing while ensuring comfortable working conditions for installation crews.
Key Factors That Impact Your Final Spray Foam Investment
Property Size and Square Footage Calculations
Your project’s square footage directly drives your spray foam costs, but the calculation isn’t as straightforward as you might think. While contractors typically quote prices per square foot, the actual measurement process involves more than just multiplying length by width.
When calculating your project size, you’ll need to account for irregular surfaces, corners, and areas where walls meet ceilings. These transition zones require additional material and labor time, effectively increasing your per-square-foot cost. Your contractor will measure each surface separately, including walls, ceilings, rim joists, and crawl spaces that need insulation.
Different areas of your home may require varying application techniques. Basement walls, for example, often need different preparation than attic spaces, affecting both material usage and labor hours. Your final quote will reflect these complexities, not just a simple square footage multiplier.
Bulk pricing comes into play for larger projects. If you’re insulating your entire home rather than just one room, you’ll likely see better per-square-foot rates. However, smaller projects under 500 square feet often carry premium pricing due to minimum service charges and equipment setup costs.
Accessibility Challenges and Labor Complexity
Your home’s layout significantly impacts installation costs through accessibility factors that affect crew efficiency. Tight crawl spaces, high ceilings, and awkward angles all increase labor time and complexity.
Attic spaces with limited headroom force installers to work in cramped conditions, slowing down the application process. Your contractor may need specialized equipment or additional crew members to handle difficult-to-reach areas safely. This translates directly into higher labor costs on your final invoice.
Multi-story applications require additional safety equipment and setup time. If your project involves exterior walls on upper floors or cathedral ceilings, expect premium pricing for the specialized equipment and safety measures required.
Obstacles within your space also affect costs. HVAC ducts, electrical wiring, and plumbing lines require careful work-around techniques. Your installer needs to mask and protect these systems while ensuring complete coverage around them. This detailed work takes more time than open, unobstructed surfaces.
Weather conditions can impact exterior work or projects in unconditioned spaces. Cold temperatures affect spray foam curing, potentially requiring heating equipment or schedule adjustments that influence your project timeline and costs.
Building Type Requirements and Code Compliance
Your building type determines specific insulation requirements that directly affect material quantities and installation methods. Residential homes, commercial buildings, and industrial spaces each have distinct code requirements that influence your project scope.
Toronto’s building codes specify minimum R-values for different applications, and these requirements vary by building type and usage. Your residential project might need R-20 in walls while commercial applications could require higher performance standards. These code requirements determine the minimum thickness and coverage area, setting baseline costs for your project.
Fire safety codes also play a role in your spray foam selection and installation. Some building types require fire-resistant barriers over foam insulation, adding materials and labor to your project. Your contractor must factor these code-mandated additions into your quote.
Historic buildings or those with special designations may have additional restrictions affecting installation methods. You might need to use specific products or techniques that preserve architectural features while meeting modern insulation standards.
Commercial projects often require additional documentation, inspections, and compliance certifications. These administrative requirements add time and potentially third-party inspection costs to your overall project budget.
Existing Insulation Removal Costs
Your current insulation situation significantly impacts project costs, with removal and disposal often representing a substantial portion of your total investment. Different insulation types require varying removal approaches, each with distinct cost implications.
Fiberglass batts are relatively simple to remove, but the process still requires proper safety equipment and disposal fees. Your crew will need protective gear to handle the material safely, and local disposal facilities charge fees for insulation materials.
Blown-in cellulose or fiberglass presents more complex removal challenges. Your contractor needs specialized vacuum equipment to extract loose-fill materials completely. This process takes considerable time and generates disposal volume that affects your project costs.
Existing spray foam removal represents the most expensive scenario. Old spray foam must be mechanically removed, often requiring specialized tools and extensive labor hours. This process may also reveal underlying issues like air leaks or structural problems that need addressing before new installation.
Vermiculite insulation requires hazardous material protocols due to potential asbestos content. Your project costs will include testing, specialized removal procedures, and certified disposal – significantly increasing your investment compared to standard insulation removal.
Contaminated insulation from water damage or pest infestations adds cleanup and sanitization costs. Your contractor may need to address underlying moisture issues or pest entry points before proceeding with spray foam installation, expanding your project scope beyond simple insulation replacement.
Comprehensive Cost Comparison Between Spray Foam Types
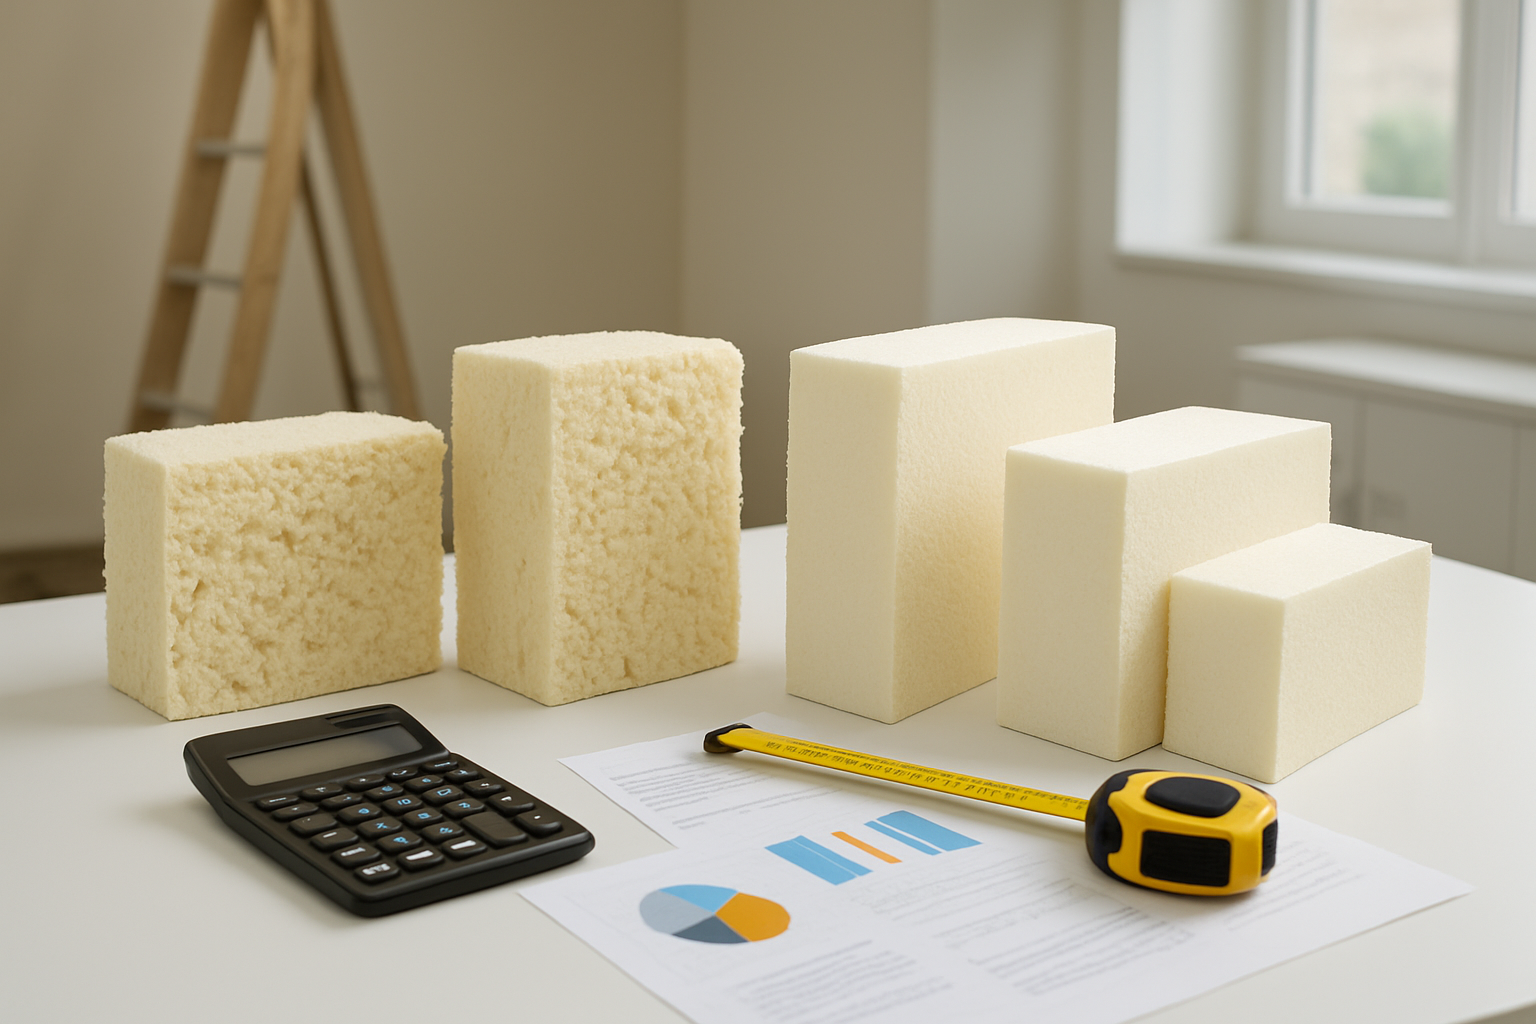
Performance differences that justify price gaps
Your choice between open-cell and closed-cell spray foam dramatically affects both upfront costs and long-term performance. Open-cell foam costs $1.50-$2.25 per square foot for 2-inch thickness, while closed-cell runs $2.75-$4.50 per square foot in Toronto’s 2026 market.
Closed-cell foam delivers superior R-value at R-6.5 per inch compared to open-cell’s R-3.6 per inch. This means your 2-inch closed-cell installation provides R-13 insulation value, while open-cell only reaches R-7.2. The performance gap becomes critical during Toronto’s harsh winters when you need maximum thermal protection.
You’ll also notice significant differences in moisture resistance. Closed-cell foam acts as a vapor barrier and adds structural strength to your walls, while open-cell remains permeable to moisture. If you’re insulating basements or areas prone to humidity, closed-cell prevents mold growth and water damage that could cost thousands in repairs.
| Foam Type | R-Value per Inch | Vapor Barrier | Structural Support | Price Range (2″ thick) |
|---|---|---|---|---|
| Open-Cell | R-3.6 | No | Minimal | $1.50-$2.25/sq ft |
| Closed-Cell | R-6.5 | Yes | Significant | $2.75-$4.50/sq ft |
Long-term energy savings potential
Your energy savings depend heavily on which spray foam type you choose and your home’s current efficiency. Closed-cell foam typically reduces heating costs by 30-50% in poorly insulated Toronto homes, while open-cell achieves 20-35% savings.
Consider your monthly heating bills. If you currently spend $200 monthly heating your home during Toronto’s 5-month winter season, closed-cell foam could save you $300-500 annually. Open-cell might save $200-350 yearly. Over a 20-year lifespan, closed-cell foam saves $6,000-$10,000 in energy costs, while open-cell saves $4,000-$7,000.
Your payback period varies by installation size and energy prices. A typical 1,000 square foot closed-cell installation costing $3,500 pays for itself in 7-10 years through energy savings. Open-cell installations recover costs in 8-12 years due to lower upfront costs but reduced savings.
Toronto’s rising energy costs work in your favor. Electricity rates increased 15% in 2025, and natural gas prices remain volatile. Your spray foam investment becomes more valuable as energy costs climb, accelerating your payback timeline.
Durability and lifespan value analysis
You’re making a long-term investment when you choose spray foam insulation. Closed-cell foam lasts 80-100 years without significant performance degradation, while open-cell maintains effectiveness for 20-30 years before requiring replacement or supplementation.
Your closed-cell installation maintains its R-value and structural integrity decades longer than traditional insulation. Fiberglass batts settle and lose 30% efficiency within 10 years, but closed-cell foam remains stable. This stability means you won’t face re-insulation costs that homeowners with traditional materials encounter.
Open-cell foam requires more maintenance attention. While it doesn’t settle like fiberglass, it’s vulnerable to moisture damage and pest intrusion. You might need to address issues or replace sections every 15-20 years, adding to your total ownership costs.
Your warranty coverage reflects these durability differences. Most Toronto contractors offer 25-year warranties on closed-cell installations but limit open-cell warranties to 10-15 years. This warranty difference signals the confidence contractors have in each product’s longevity.
When calculating true value, factor in replacement costs. If you install open-cell foam twice over 40 years versus one closed-cell installation, your total costs favor closed-cell despite higher initial investment. Your home’s resale value also benefits more from closed-cell foam, as buyers recognize its superior performance and longevity.
Hidden Expenses That Affect Your Total Project Budget

Permit Fees and Inspection Requirements
Your spray foam project might require municipal permits depending on the scope of work and your local building codes. In Toronto, you’ll typically need permits for major insulation upgrades, especially if you’re working on basement walls or doing whole-house retrofits. Permit costs range from $100 to $500, but the real expense comes from potential delays if your paperwork isn’t in order.
Building inspectors need to verify your work meets current energy codes, and you’ll pay inspection fees of $150 to $300 per visit. If your installation fails inspection, you’re looking at additional fees for re-inspection plus the cost of fixing any issues. Some contractors include these fees in their quotes, but many don’t, so ask upfront about permit handling.
Preparation Work and Surface Cleaning
Your surfaces need to be spotless before spray foam application, and this prep work adds significant costs to your project. You’ll need to remove old insulation, clean debris, seal air leaks, and ensure surfaces are completely dry. Professional cleaning services charge $2 to $4 per square foot for thorough preparation.
Mold remediation becomes necessary if you discover moisture issues during prep work. This specialized cleaning costs $1,500 to $3,500 for average-sized areas. You might also need to install vapor barriers or repair structural damage before foam application, adding $500 to $2,000 to your budget depending on the extent of required work.
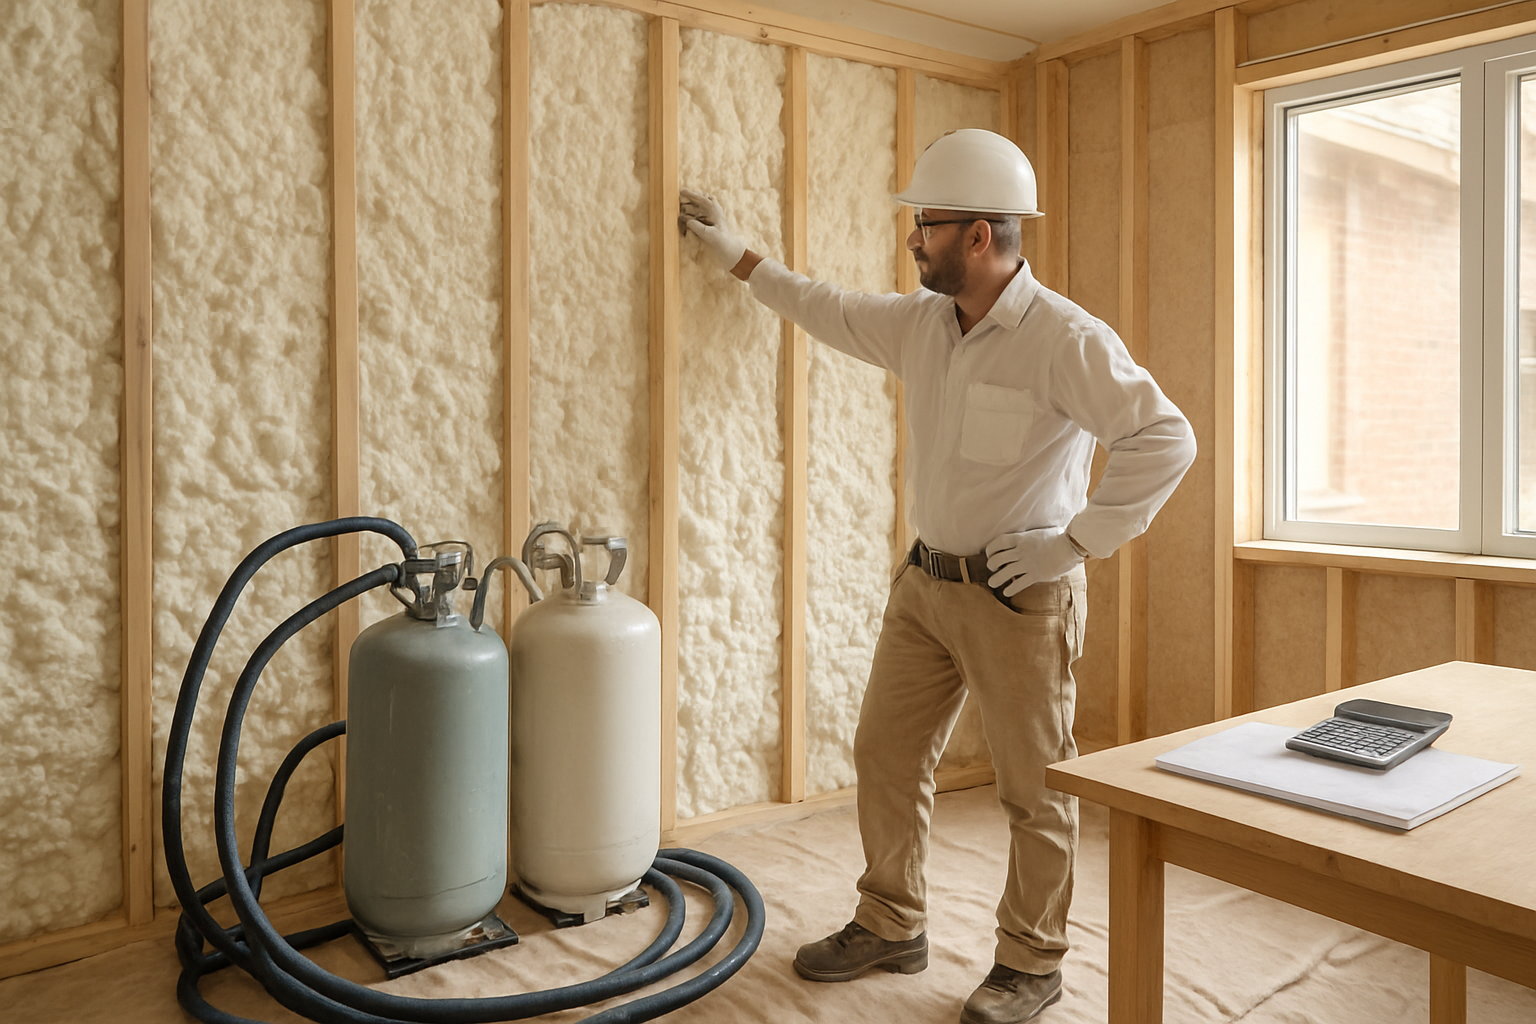
Equipment Rental and Setup Charges
Professional spray foam installation requires specialized equipment that contractors often rent rather than own. High-pressure spray rigs cost $300 to $500 per day to rent, and setup fees add another $200 to $400 to your project. You’ll also pay for protective equipment, ventilation systems, and temperature control units needed for proper application.
Transportation costs for heavy equipment delivery can add $100 to $300, especially if your property has difficult access. Some contractors include equipment costs in their labor rates, while others itemize these expenses separately. Always clarify how equipment costs are handled in your contract to avoid surprises.
Disposal Fees for Old Insulation Materials
Removing existing insulation creates disposal challenges that impact your budget significantly. Fiberglass and cellulose insulation cost $0.50 to $1.50 per square foot to remove and dispose of properly. Asbestos-containing materials require specialized hazmat disposal, with costs ranging from $5 to $15 per square foot.
You’ll need proper disposal containers, which rental companies charge $200 to $600 depending on size and duration. Many waste management facilities charge tipping fees of $50 to $150 per load for insulation materials. If you’re handling disposal yourself, factor in multiple dump runs and disposal fees that can easily reach $500 to $1,200 for larger projects.
Professional Installation vs DIY Cost Analysis
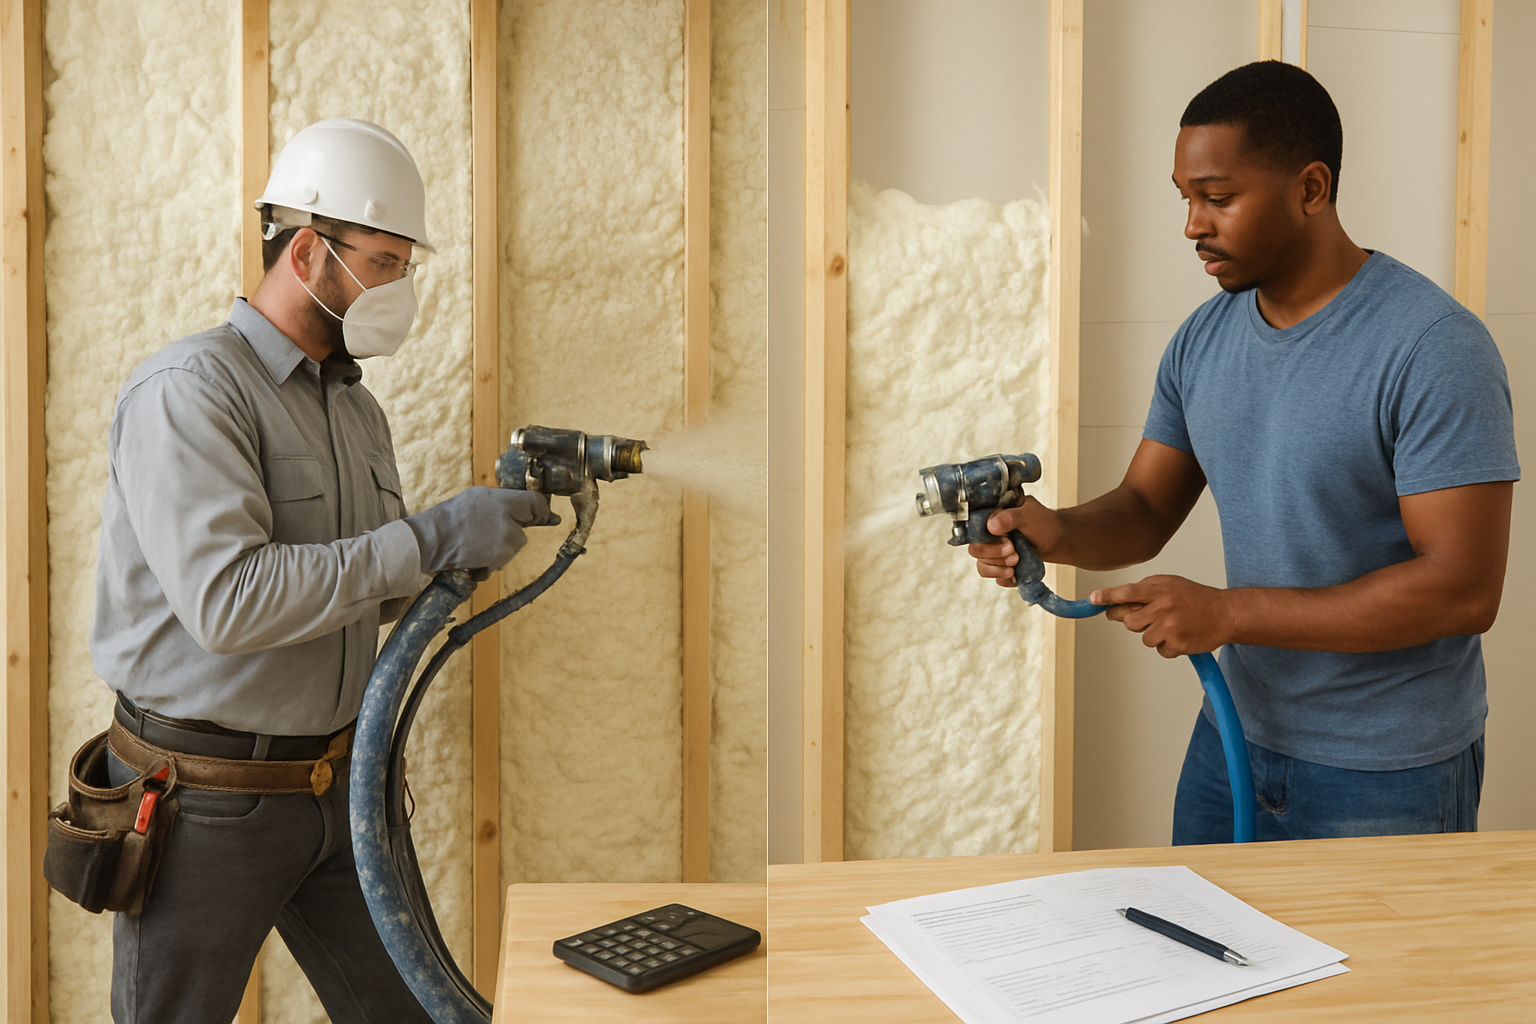
Equipment Purchase and Rental Expenses
When you decide to tackle spray foam installation yourself, your first major expense comes from acquiring the necessary equipment. You’ll need a spray foam gun, which ranges from $300 to $800 for basic models, while professional-grade units can cost $1,500 to $3,000. Don’t forget about the compressor system – expect to spend another $500 to $1,200 depending on your project size.
Rental options might seem appealing at first glance. Daily rental rates for spray foam equipment typically run $150 to $300, with weekly rates around $700 to $1,200. However, when you factor in your learning curve and potential mistakes, you might end up needing the equipment longer than anticipated.
Your material costs will also be higher as a DIY installer. Professional contractors buy spray foam chemicals in bulk, securing prices 20-30% lower than what you’ll pay for smaller quantities. You’ll typically spend $1.50 to $3.50 per board foot for materials, compared to the $1.00 to $2.50 contractors pay.
Professional installers complete most residential projects in 1-2 days, while your DIY timeline could stretch to several weekends. This extended rental period often eliminates any initial cost savings you hoped to achieve.
Safety Gear and Training Requirements
Your safety investment extends far beyond basic protective equipment. You’ll need a full-face respirator with appropriate cartridges ($200-400), chemical-resistant coveralls ($50-100), nitrile gloves, and eye protection. The spray foam chemicals you’re working with can cause serious health issues if proper precautions aren’t taken.
Training requirements add another layer of expense and complexity. Many suppliers require proof of certification before selling professional-grade chemicals. Basic spray foam training courses cost $300 to $800 and typically take 2-3 days to complete. Without this training, you risk creating unsafe conditions or voiding your insurance coverage.
You’ll also need proper ventilation equipment. Industrial fans and air filtration systems can cost $200 to $600, and inadequate ventilation poses serious health risks during application. Professional installers already have these safety systems integrated into their standard operating procedures.
Fire safety becomes your responsibility too. You’ll need fire extinguishers rated for chemical fires, emergency shower facilities, and first aid supplies specifically designed for chemical exposure incidents.
Time Investment and Skill Learning Curve
Your time investment goes well beyond the actual spraying process. Plan to spend 10-15 hours researching techniques, watching training videos, and understanding proper mixing ratios. Getting comfortable with the equipment takes practice – and mistakes during this learning phase can be expensive.
Surface preparation alone can take you 2-3 times longer than experienced professionals. You’ll need to mask areas precisely, ensure proper temperature conditions, and achieve consistent thickness throughout your application. Professional crews have streamlined these processes through years of experience.
Weather dependency becomes a major factor in your timeline. Spray foam application requires specific temperature and humidity conditions. As a DIY installer, you can’t control your schedule around optimal conditions like professionals who monitor weather patterns and plan accordingly.
Cleanup and disposal add hours to your project. You’ll need to properly dispose of chemical containers, clean equipment thoroughly, and remove all masking materials. Professionals have established relationships with disposal companies and efficient cleanup procedures.
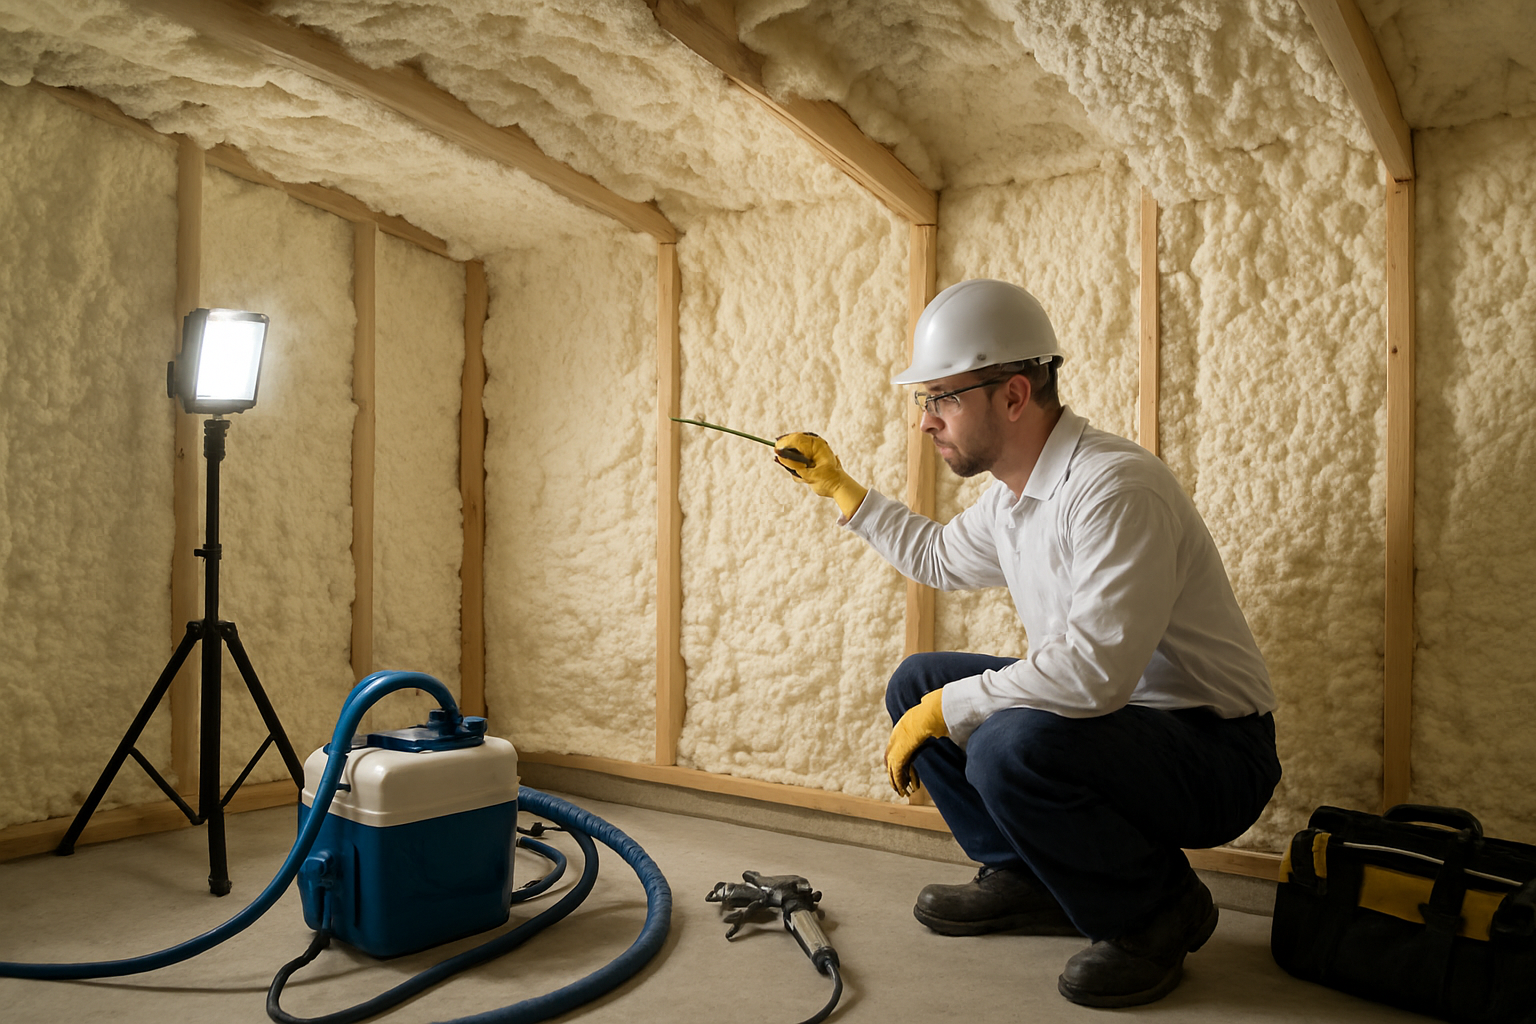
Warranty Coverage and Quality Guarantees
Your DIY installation typically voids manufacturer warranties on spray foam products. Most spray foam manufacturers only honor warranties when installation is performed by certified professionals. This leaves you responsible for any performance issues or failures.
Professional installations come with comprehensive warranties covering both materials and workmanship. These warranties typically last 10-25 years and include provisions for repair or replacement if issues arise. You lose this protection when installing yourself.
Quality control becomes entirely your responsibility. Professional installers use thermal imaging and moisture meters to verify proper coverage and identify potential problem areas. Without these tools and expertise, you might miss critical gaps or over-application issues that reduce effectiveness.
Insurance complications can arise from DIY installations. Some insurance companies may question coverage for property damage related to improper spray foam installation. Professional installations include liability coverage that protects you from these risks.
Building code compliance also falls on your shoulders. Professional installers understand local building codes and inspection requirements. If your DIY installation doesn’t meet code, you’ll face additional costs for corrections and re-inspections.
Maximizing Your Spray Foam Investment Value
Government rebates and energy efficiency incentives
Your spray foam investment can pay for itself faster when you tap into available government programs. The Canada Greener Homes Grant offers up to $5,000 for insulation upgrades, including spray foam installations. You’ll need an EnerGuide evaluation before and after your project to qualify, but the savings make this extra step worthwhile.
Ontario’s HER+ program provides additional rebates when you combine spray foam with other energy upgrades. You could receive up to $5,000 more when bundling insulation with heat pump installations or window replacements. Your local utility company may also offer rebates – Toronto Hydro frequently runs energy efficiency programs that include insulation incentives.
Federal tax credits for home energy retrofits can reduce your taxable income by up to $5,000 annually. Keep all receipts and certification documents, as you’ll need these for your tax filing. Some municipalities offer property tax rebates for homes that achieve specific energy ratings after insulation upgrades.
The key to maximizing these benefits is timing your application correctly. Apply for pre-approvals before starting work, and ensure your contractor is certified under the relevant programs. Missing this step could disqualify you from thousands in potential savings.
Financing options and payment plans
You don’t need to pay for your spray foam project upfront. Many contractors offer flexible payment plans that let you spread costs over 12 to 60 months. Interest rates typically range from 0% to 8.99%, depending on your credit score and the financing company they partner with.
Home equity lines of credit (HELOC) often provide the lowest interest rates for larger projects. You can borrow against your home’s equity at prime rate plus 0.5% to 2%. This option works particularly well for extensive spray foam applications since the improved insulation immediately increases your property value.
Personal loans from banks and credit unions offer another path when you lack sufficient home equity. Unsecured loans for home improvements typically carry rates between 6% and 12%. Shop around with different lenders, as rates can vary significantly based on your relationship with the institution.
Some spray foam companies partner with specialized home improvement financing firms like Financeit or PayBright. These programs often feature promotional rates, including 0% financing for qualified applicants. The application process is usually quick, with approvals happening within 24 hours.
Credit cards make sense for smaller projects under $5,000, especially if you have a low-interest card or can take advantage of a promotional rate period. Just ensure you can pay off the balance before higher rates kick in.
Bulk pricing opportunities for larger projects
Your per-square-foot costs drop significantly when you tackle multiple areas simultaneously. Contractors typically offer 10% to 20% discounts when your project exceeds 2,000 square feet. This makes whole-house spray foam applications more cost-effective than piecemeal approaches.
Combining basement, attic, and crawl space insulation in one project eliminates multiple setup fees and minimizes disruption to your daily routine. You’ll also benefit from bulk material purchasing, as spray foam components cost less when ordered in larger quantities.
Neighborhood group buying can unlock even better pricing. When you coordinate with neighbors for simultaneous projects, contractors often provide additional discounts since they can reduce travel time and equipment setup costs. Some companies offer 5% to 15% savings for coordinated multi-home projects.
Seasonal timing affects bulk pricing opportunities. Spring and fall represent peak seasons with higher demand, while winter projects often come with reduced rates. You might save 10% to 25% by scheduling your spray foam installation during slower periods.
Consider phasing larger projects across multiple years to spread costs while still capturing bulk pricing benefits. Start with your highest-priority areas like basements or attics, then add remaining spaces in subsequent phases. Many contractors honor bulk pricing tiers when you commit to completing all phases with them.
Building relationships with contractors through referrals and repeat business can lead to preferred customer pricing on future projects. Your contractor might offer loyalty discounts or priority scheduling when you demonstrate you’re a reliable, repeat customer.
The cost of 2-inch spray foam in Toronto isn’t just about the upfront price per square foot. You’ve learned that your final investment depends on several moving parts – from the type of foam you choose to your home’s specific conditions and the contractor you hire. Those hidden expenses like prep work, equipment access, and potential repairs can add up quickly, making that initial quote just the starting point of your budget planning.
Your best move is to get detailed quotes from at least three certified installers and ask them to break down every cost component. Don’t let a lower initial price fool you if it comes with corners being cut on quality or coverage. Professional installation might cost more than going the DIY route, but the long-term energy savings and proper application make it worth every penny. Take the time to understand exactly what you’re paying for, and you’ll end up with spray foam insulation that delivers real value for decades to come.